
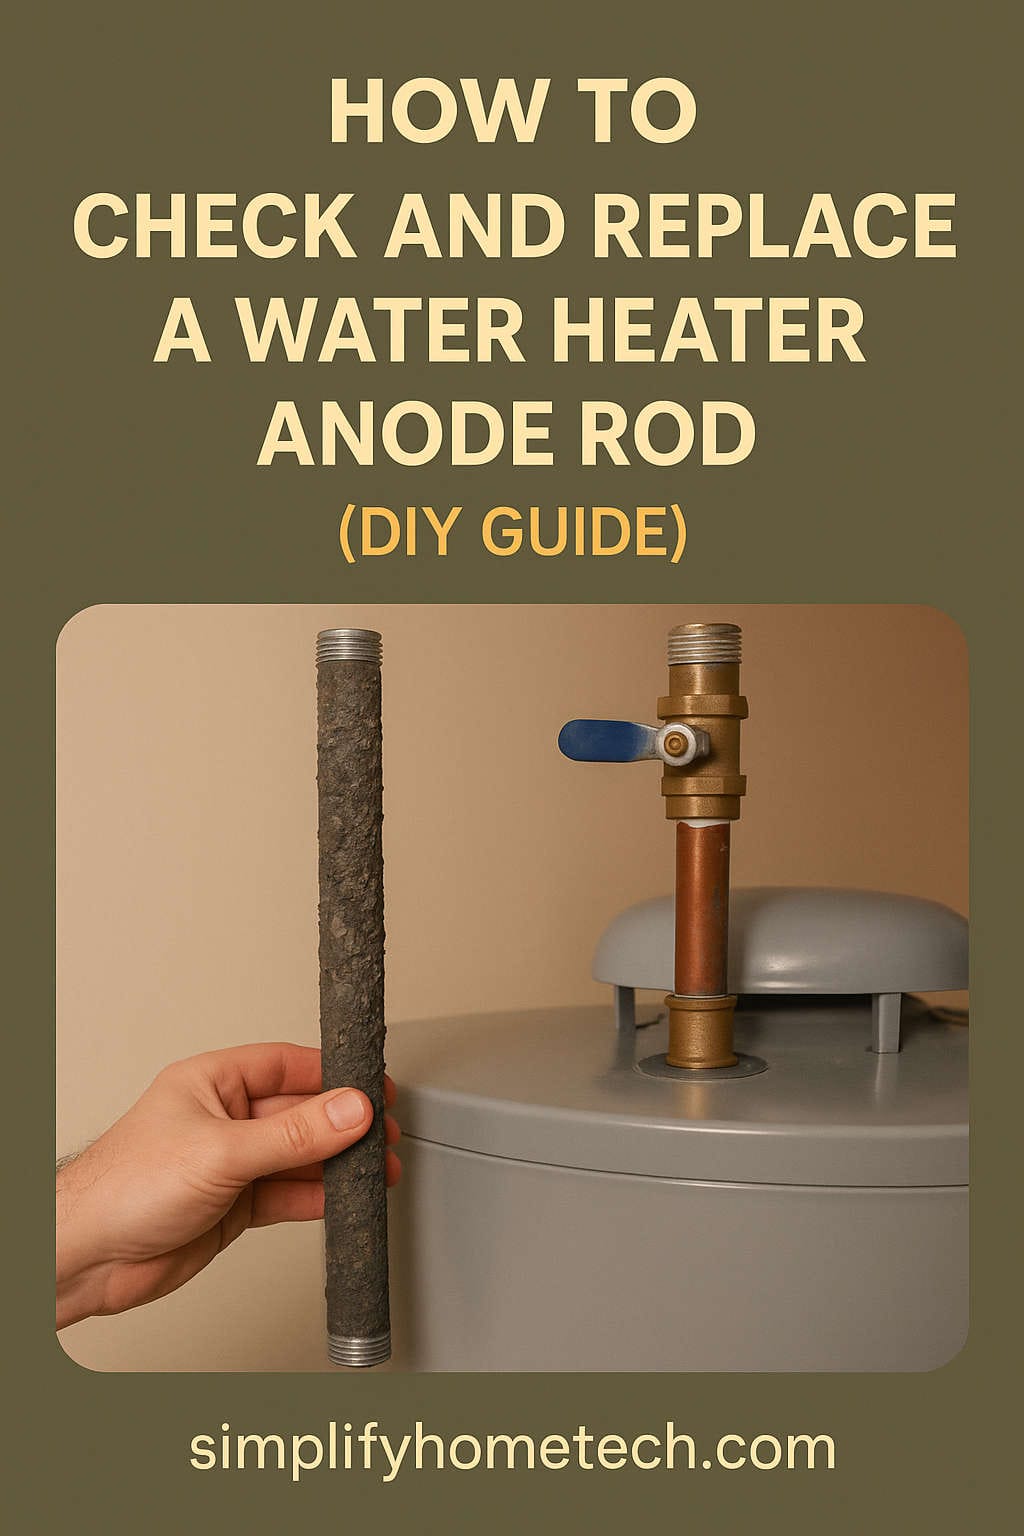
Your water heater is one of those appliances you rarely think about—until something goes wrong. Whether it’s a lack of hot water or rusty tap water, issues often come as a surprise. But what if there was a simple, inexpensive way to extend the life of your water heater and avoid costly repairs? The answer lies in an often-overlooked component: the anode rod.
In this comprehensive guide, we’ll walk you through everything you need to know about checking and replacing your water heater’s anode rod. By the end, you’ll understand what it does, why it matters, how to inspect it, and how to replace it yourself.
What Is an Anode Rod?
An anode rod is a slender metal rod installed inside your water heater tank. Its job? To sacrifice itself. Made of magnesium, aluminum, or a combination of both, this rod attracts corrosive elements in the water that would otherwise attack your tank.
This process, known as galvanic corrosion, ensures the rod corrodes first instead of the tank’s inner walls. That’s why it’s called a sacrificial anode rod. As long as the rod is present and functional, your tank is protected.
Why You Should Care About Your Anode Rod
If you’re like most homeowners, the anode rod has probably never crossed your mind. But ignoring it could cost you big.
Here’s what can happen when the rod fails:
- Tank corrosion: Once the rod is consumed, the tank walls start rusting.
- Leaks: Corrosion eventually eats through the metal, leading to leaks.
- Expensive replacement: A new water heater can cost anywhere from $500 to $2,000 or more.
- Shortened lifespan: A well-maintained heater can last 10–15 years; a neglected one may last only 6–8 years.
Checking and replacing your anode rod is simple maintenance that could double your water heater’s lifespan.
How Often Should You Check the Anode Rod?
The general recommendation is to inspect the anode rod every 1 to 3 years. But this can vary depending on:
- Water quality: Hard or acidic water can accelerate corrosion.
- Water usage: More hot water usage means the rod wears out faster.
- Tank type and age: Older units and cheaper models often need more frequent maintenance.
If your heater is more than 3 years old and you’ve never checked the rod, it’s time to do so.
Signs Your Anode Rod Needs Replacing
You don’t always need to inspect the rod to know something’s wrong. Watch for these red flags:
- Rusty water: Discolored hot water is a strong sign of internal rust.
- Sulfur or rotten egg smell: Indicates bacteria reacting with the rod.
- Popping or banging noises: Sediment buildup and corrosion can cause this.
- Water heater over 5 years old: Age alone may justify inspection.
- Visible rust around fittings or tank base: Late-stage corrosion is setting in.
Any of these signs mean you should check the anode rod as soon as possible.
Tools and Materials You’ll Need
Before starting, gather the necessary tools. This makes the process smoother and helps avoid mid-task delays.
Tools:
- Socket wrench (1 1/16-inch socket is standard)
- Breaker bar or impact wrench (for stuck rods)
- Flathead screwdriver
- Garden hose (for draining water)
- Ladder or stool (for tall tanks)
Materials:
- Replacement anode rod (magnesium, aluminum, or hybrid)
- Teflon tape (for sealing threads)
- Pipe thread sealant (optional)
- Towels or bucket (to catch spills)
How to Check the Anode Rod (Step-by-Step)
Ready to inspect the rod? Follow these steps carefully:
1. Turn Off Power or Gas
- Electric heaters: Switch off the breaker.
- Gas heaters: Set thermostat to “Pilot” or turn off gas supply.
2. Shut Off Cold Water Supply
Locate the cold water valve at the top of the tank and turn it off. This prevents new water from entering while you’re working.
3. Relieve Pressure
Open a hot water tap somewhere in the house to relieve tank pressure. Then attach a hose to the drain valve at the tank’s bottom and drain a few gallons of water.
4. Locate the Anode Rod
The rod is usually on the top of the tank, sometimes under a plastic cap labeled “Anode” or next to the hot water outlet.
5. Loosen the Rod
Use your socket wrench to unscrew the rod counterclockwise. This may take considerable effort—a breaker bar or impact wrench helps if it’s stuck.
6. Inspect the Rod
Pull out the rod and check for:
- Deep corrosion or pitting
- Significant thinning (less than ¼ inch thick)
- White calcium build-up or crust
If more than 6 inches is heavily corroded or the rod is coated in scale, replace it.
How to Replace the Anode Rod
Once you’ve determined the rod is spent, here’s how to replace it.
Step 1: Choose the Right Rod
Anode rods come in different materials:
- Magnesium: Offers best protection but wears out faster. Ideal for soft water.
- Aluminum: Better for hard water; lasts longer but less effective.
- Aluminum-zinc: Helps eliminate sulfur smells.
- Flexible rods: Perfect for low-clearance areas.
Check your heater manual for compatibility.
Step 2: Wrap Threads with Teflon Tape
Before inserting the new rod, wrap its threads with Teflon tape. This helps prevent leaks and makes future removal easier.
Step 3: Insert and Tighten
Lower the rod into the tank opening. Be gentle to avoid cross-threading. Tighten firmly with your wrench—but don’t overdo it.
Step 4: Refill and Restart
- Close the drain valve and remove the hose.
- Turn the cold water supply back on.
- Once water flows from your hot tap, shut it off.
- Restore power or relight the gas heater.
Check for leaks around the anode fitting. If everything is dry and functioning, you’re good to go.
Anode Rod Types: Which One Should You Choose?
Let’s break down your options with a handy table:
| Type | Best For | Lifespan | Notes |
|---|---|---|---|
| Magnesium | Soft water | 3–5 years | Most effective corrosion protection |
| Aluminum | Hard water | 4–6 years | Longer-lasting but less protective |
| Aluminum-Zinc | Sulfur smell | 4–6 years | Reduces odor, slightly lower performance |
| Flexible | Tight spaces | Varies | Easier to install in confined areas |
| Powered/Impressed Current | Long-term use | 10–20 years | No corrosion, but requires electricity |
Pro tip: If your water has a sulfur smell, opt for aluminum-zinc. If you want low-maintenance, consider a powered anode rod.
Tips to Extend the Life of Your Water Heater
Want to get the most out of your water heater? Follow these maintenance tips:
- Inspect annually: Make rod checks part of your yearly home maintenance routine.
- Flush sediment: Drain and flush your tank once a year to prevent buildup.
- Use a water softener: Especially helpful if you have hard water.
- Lower water temperature: Set your thermostat to 120°F to reduce wear and save energy.
- Install an expansion tank: This reduces pressure stress on the water heater.
- Insulate pipes and tank: Improves efficiency and reduces heat loss.
Frequently Asked Questions
Can I check or replace the anode rod myself?
Yes! With basic tools and this guide, most homeowners can do it themselves in under an hour.
How much does it cost to replace an anode rod?
DIY replacement typically costs between $20 and $50. Hiring a plumber may run $100 to $300.
What if the rod is stuck?
Try a breaker bar or impact wrench. If it’s still stuck, consider calling a professional to avoid damaging the tank.
Do tankless water heaters have anode rods?
No. Tankless units don’t store water, so they don’t require anode rods.
Can I switch to a powered anode rod?
Absolutely. They’re more expensive upfront but last longer and require less maintenance.
Conclusion
Your water heater works hard every day, and the anode rod is its first line of defense against corrosion. Spending a little time to check and replace this simple component can add years to your heater’s life and save you hundreds, if not thousands, in repair or replacement costs.
So don’t wait for rusty water or a leaking tank. Make checking your anode rod a regular part of your home maintenance. It’s an easy win for your wallet, your comfort, and your peace of mind.
Have you replaced your anode rod before? Share your experience or ask questions in the comments below—we’re here to help!
Need help choosing the right anode rod? Drop a comment or contact us directly. We’ll guide you through the options based on your water quality and heater type.
You might also like,