
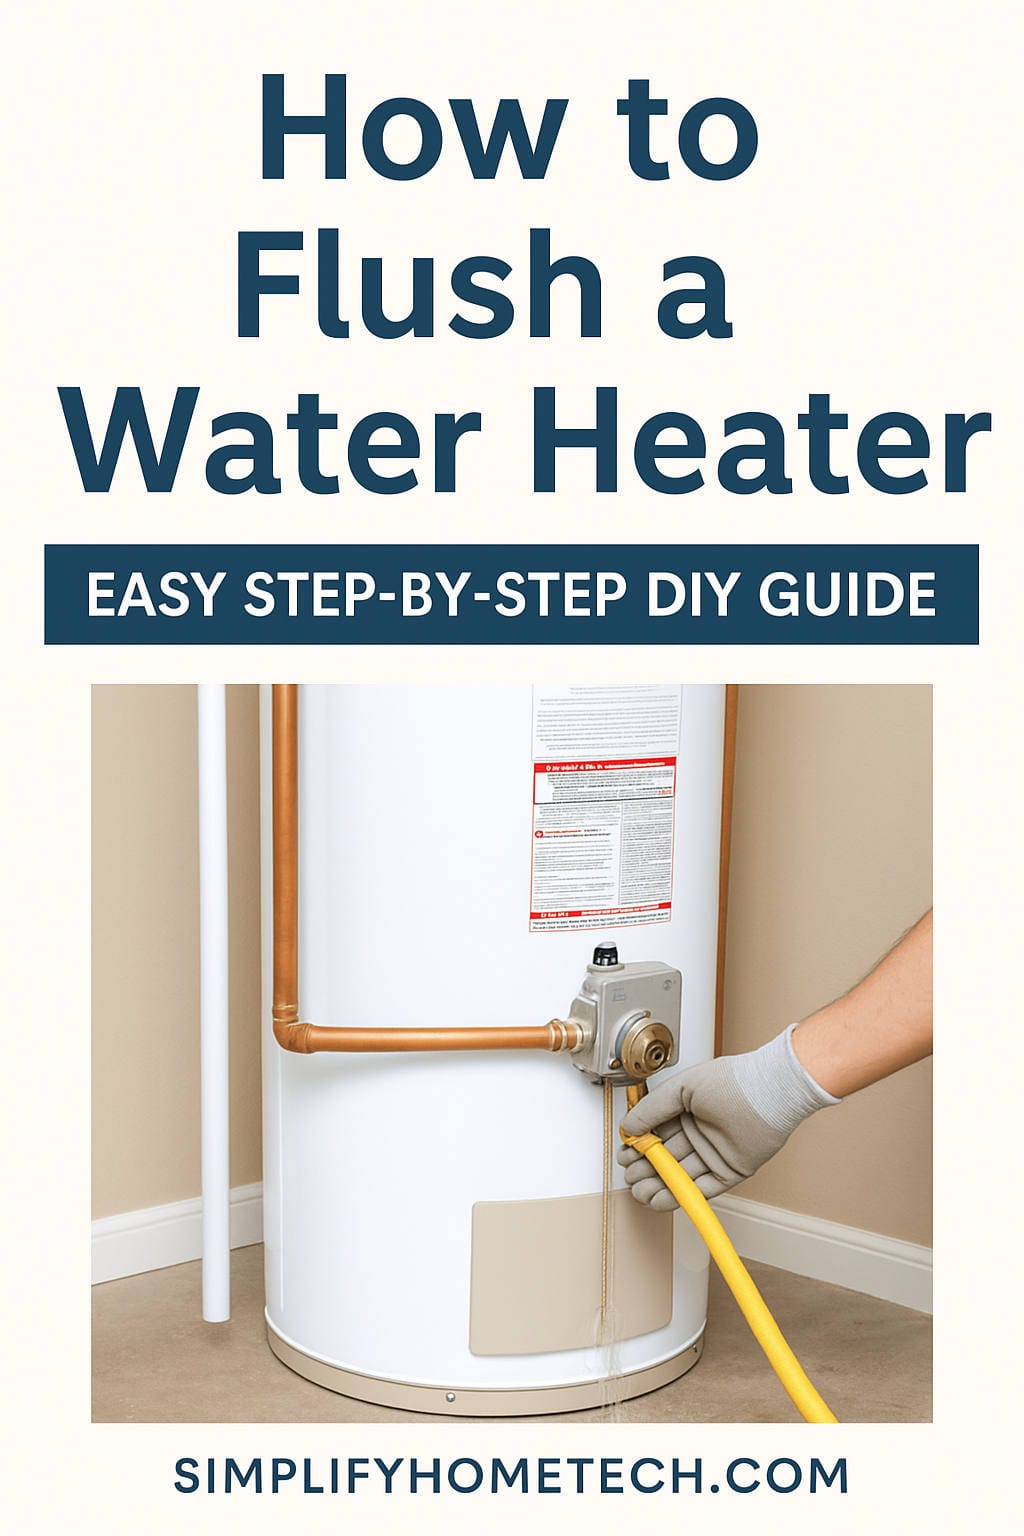
Hot showers, clean dishes, and fresh laundry—your water heater plays a silent but vital role in your daily comfort. And while it’s easy to take for granted, this hard-working appliance needs some love once in a while to keep performing at its best. One of the most important (and most neglected) maintenance tasks is flushing the tank.
If you’ve never done this before, don’t worry. Flushing a water heater is easier than it sounds, and by the time you’re done reading this guide, you’ll feel confident doing it yourself—without calling a plumber or risking a flood in your basement.
Let’s walk through why flushing matters, how often you should do it, and step-by-step instructions to do it the right (and safe) way.
Why You Need to Flush Your Water Heater
Over time, minerals and sediment collect at the bottom of your water heater. This is especially common if you live in an area with hard water (which includes a lot of dissolved calcium and magnesium). What starts as a thin layer of harmless residue can build up into a thick, crusty blanket of sediment that causes all sorts of issues, such as:
- Reduced efficiency: The burner or heating element must work harder to heat water through that sediment layer.
- Higher energy bills: More effort means more gas or electricity used.
- Less hot water: Sediment takes up space in the tank, reducing its capacity.
- Weird noises: A popping or rumbling sound usually means steam bubbles are getting trapped under the sediment.
- Shortened lifespan: Sediment can corrode the tank from the inside out.
If that sounds like a lot of problems from just a little sediment—well, it is. But the good news is, you can flush it all out in about an hour with a few basic tools.
How to Tell If Your Water Heater Needs Flushing
You might be wondering: “How do I even know if my water heater has sediment buildup?”
Here are some common signs:
- Noises like banging, popping, or rumbling when the heater is on
- Discolored water, especially rusty or muddy-looking hot water
- Water takes longer to heat, or doesn’t stay hot as long
- A drop in water pressure when using hot water
- An increase in energy bills without a clear reason
Even if you don’t notice these symptoms, it’s still a good idea to flush the tank at least once a year as preventative maintenance.
What You’ll Need Before You Start
Flushing a water heater is mostly about letting gravity do its job, but you’ll need a few things to make the process smooth and safe:
Tools & Supplies:
- A standard garden hose (6–10 feet long)
- A bucket (optional, for inspecting water or catching drips)
- A flathead screwdriver (for opening some drain valves)
- A wrench (optional, in case fittings are tight)
- Gloves and safety glasses
- Old towels or rags (for cleaning up spills)
- A wet/dry vacuum (helpful if the drain valve clogs, but not essential)
Make sure the hose you use can handle hot water. Some cheap plastic hoses can melt or warp.
Step-by-Step Guide to Flushing Your Water Heater
Ready to get started? Here’s exactly how to flush a standard tank-style water heater (gas or electric). Take your time and don’t skip any steps—each one is important for safety and effectiveness.
Step 1: Turn Off the Power Supply
For electric water heaters: Go to your home’s breaker panel and turn off the circuit that powers your water heater. It might be labeled “Water Heater,” or you might need to shut off a double-pole breaker.
For gas water heaters: Find the temperature dial near the base of the tank. Turn it to “Pilot” to stop the burner from running while you work. If you’re unsure how to relight the pilot later, check your heater’s label or manual.
Why this step matters: Never drain a tank while the heat source is still on. Heating an empty tank can damage it and pose a fire risk.
Step 2: Turn Off the Cold Water Supply
At the top of your water heater, you’ll see two pipes: one for hot water out and one for cold water in. Find the valve on the cold side and turn it clockwise until it’s completely shut.
This stops new water from entering the tank while you drain it.
Step 3: Let the Water Cool Down
If the tank is full of recently heated water, it can be dangerously hot—upwards of 140°F or more. Wait at least 1–2 hours after turning off the heat to let it cool.
If you’re in a rush, run hot water from a faucet or two for 10–15 minutes to bring the temperature down more quickly.
Step 4: Hook Up a Hose to the Drain Valve
Near the bottom of the tank, you’ll find a drain valve that looks like a spigot. Attach one end of your garden hose here and run the other end to:
- A floor drain
- A driveway or outside (be careful about sediment or hot water damaging plants!)
- A large bucket (if you want to inspect the water)
Make sure the hose is securely attached to avoid leaks or spills.
Step 5: Open a Hot Water Faucet in the House
Before you open the drain valve, go to the nearest sink or bathtub and turn on the hot water. Leave it running throughout the process.
This relieves pressure in the system and prevents a vacuum from forming, which would slow down the draining.
Step 6: Open the Drain Valve
Now comes the fun part. Slowly open the drain valve using a flathead screwdriver or the built-in knob (depending on the model).
Water should begin flowing out through the hose. It might come out murky, brown, or full of flakes at first—that’s the sediment leaving the tank.
Let the tank drain completely. This usually takes about 15–30 minutes.
Step 7: Flush Out Remaining Sediment
Draining alone might not get rid of all the sediment. To flush the tank more thoroughly:
- With the drain valve still open, turn the cold water supply back on for 5–10 seconds.
- Let the water rush through the bottom of the tank and out the hose.
- Repeat this “quick flush” 3–4 times until the water runs completely clear.
You can gently rock the tank or tap the side to dislodge extra buildup if needed (just be careful not to damage anything).
Step 8: Close the Drain Valve and Remove the Hose
Once you’re satisfied that the tank is clean, go ahead and close the drain valve tightly. Remove the garden hose and keep a towel nearby in case there’s a small drip.
Check around the valve for any signs of leakage. If you see water forming a puddle, tighten the valve a little more. If it still leaks, you may need to replace the valve or add a cap.
Step 9: Refill the Tank
With the drain valve closed and the hose removed:
- Turn the cold water supply back on.
- Keep the hot water faucet open (the one you opened earlier) until water starts flowing steadily again.
- Once the flow is smooth and free of air sputters, go ahead and turn off the faucet.
This step ensures your tank is completely refilled and any trapped air is released.
Step 10: Restore Power or Relight the Heater
You’re almost done!
For electric heaters: Head back to the breaker panel and flip the circuit back on. You’ll have hot water again in about 30–60 minutes.
For gas heaters: Turn the gas control knob from “Pilot” to your desired setting (typically “Hot” or 120°F). If the pilot light went out during the process, you’ll need to relight it—refer to the label on the side of your tank for instructions.
Step 11: Do a Final Leak Check
Give everything a final inspection:
- Is the drain valve dry?
- Are the hose threads dripping?
- Is the cold water inlet sealed?
If everything looks good, pat yourself on the back. You just flushed your water heater—and gave it a whole new lease on life.
Bonus Tips: Keep Your Heater Happy Longer
Flushing your tank once a year will go a long way, but here are a few more tips to keep your water heater humming:
- Install a sediment filter on your home’s main water line if you have hard water.
- Check the anode rod every 2–3 years. This sacrificial metal rod protects the tank from rusting and can dramatically extend the unit’s life.
- Listen for odd noises after flushing. A quiet heater is usually a happy one.
- Inspect the pressure relief valve occasionally by lifting the lever and ensuring water flows from the discharge pipe.
What If Something Goes Wrong?
Even though flushing is pretty straightforward, a few hiccups can happen:
Water won’t drain?
Your drain valve might be clogged with sediment. You can try:
- Tapping it gently with a wrench
- Removing the valve and using a shop vacuum
- Calling a plumber if it’s completely blocked
Drain valve leaking afterward?
This is common, especially with older plastic valves. You can:
- Try tightening it slightly
- Replace it with a brass drain valve (they’re more reliable)
- Use a hose cap as a temporary fix
Still hearing popping noises?
If sediment buildup was really bad, you might not have gotten it all out in one flush. Let the tank run for a few weeks and consider flushing again—or consult a professional if the issue persists.
When Should You Call a Pro Instead?
Flushing a water heater is totally doable for most homeowners. That said, don’t hesitate to call a professional if:
- Your heater is more than 10–12 years old
- The drain valve is stuck or corroded
- You see signs of serious rust or leakage
- You’re uncomfortable working with gas or electricity
It’s always better to spend a little on expert help than to risk damaging an expensive appliance—or your home.
Final Thoughts
Flushing your water heater might not be glamorous, but it’s one of the best ways to extend its life, improve energy efficiency, and ensure your family enjoys steady, clean hot water all year round.
If you take an hour once a year to do this, you can potentially save hundreds of dollars in repairs, reduce your energy usage, and avoid cold showers on winter mornings.
It’s simple. It’s effective. And now—you know exactly how to do it.
Have a question or a water heater story of your own? Share it in the comments below. Let’s keep the conversation (and the hot water) flowing!
You might also like,