
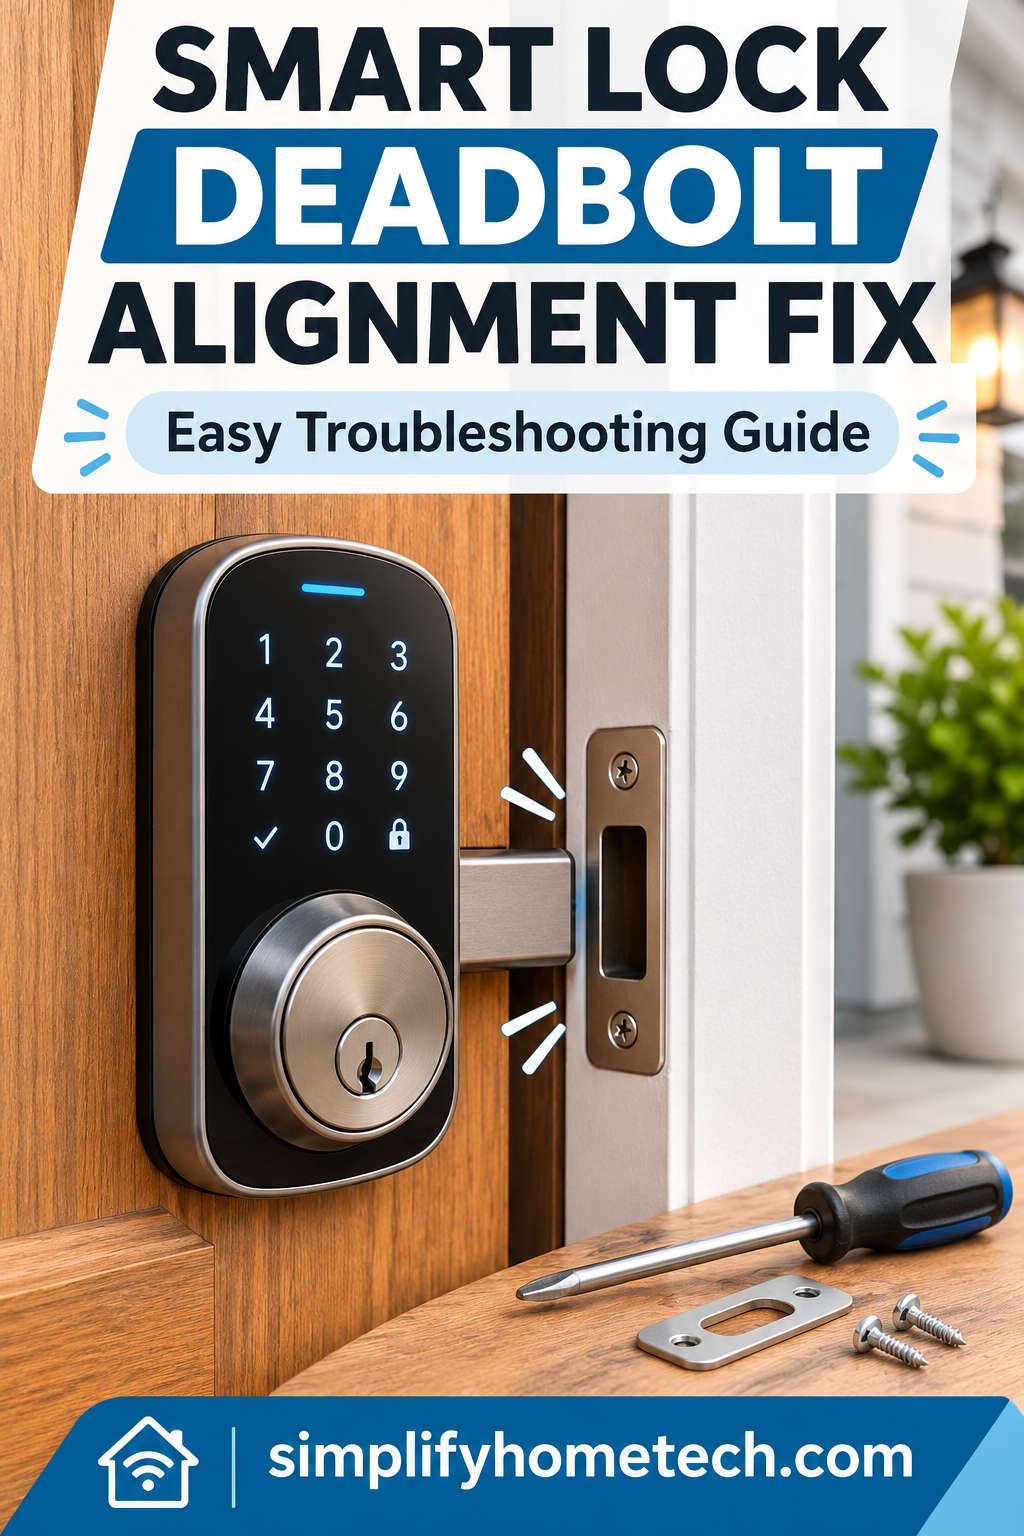
A smart lock should make your daily routine easier, not leave you struggling to lock the front door. But when the deadbolt doesn’t line up with the strike plate, even a high-quality smart lock can become unreliable. You might hear clicking noises, receive a jammed lock warning, or find yourself pushing the door just to get it locked.
The good news is that most smart lock deadbolt alignment problems can be fixed without replacing the entire lock. Often, the problem comes from loose hinges, a poorly positioned strike plate, a shallow bolt hole, or changes in the door’s position.
In this guide, you’ll learn how to fix smart lock deadbolt alignment step by step, identify what’s causing the problem, and prevent it from happening again. Whether you use a Schlage, Yale, August, Kwikset, or another smart lock, these practical troubleshooting methods can help restore smooth, reliable operation.
Why Smart Lock Deadbolt Alignment Is Important
Unlike a traditional deadbolt that you operate by hand, a motorized smart lock uses a small motor to extend and retract the bolt. That motor is designed to work with minimal resistance.
When the deadbolt isn’t properly aligned with the strike plate, the motor has to work harder. Sometimes, it cannot complete the locking cycle at all.
Poor alignment can cause several issues:
The smart lock fails to lock or unlock automatically.
The motor makes grinding, buzzing, or clicking sounds.
The deadbolt gets stuck halfway.
Batteries drain faster than expected.
The lock displays repeated jammed notifications.
You need to push, pull, or lift the door to lock it.
More importantly, a deadbolt that doesn’t extend fully may leave your door less secure.
A properly aligned deadbolt should slide into the strike plate opening smoothly, without scraping, sticking, or requiring extra pressure.
Common Causes of Smart Lock Deadbolt Misalignment
Before adjusting the hardware, it’s worth understanding what might have caused the problem. In many cases, the electronic lock is working perfectly, but something around it has shifted.
Loose or Sagging Door Hinges
Door hinges can loosen over time, particularly on heavy exterior doors. When the upper hinge loses its grip, the door may sag slightly.
Even a small shift can move the deadbolt away from the strike plate opening.
If you have to lift the door handle before locking, loose hinges are one of the first things to check.
Incorrect Strike Plate Position
The strike plate is the metal fitting installed in the door frame where the deadbolt enters.
If it sits too high, too low, or too far inward, the bolt may hit its edge instead of sliding through the opening.
This problem often appears after installing a new smart lock on an older door.
Door Expansion and Seasonal Changes
Wooden doors naturally expand and contract as humidity and temperature change.
During humid weather, a door may swell and fit more tightly against the frame. In dry conditions, it may shrink slightly.
These small changes can affect deadbolt alignment, especially when the original installation had very little clearance.
Shallow Deadbolt Hole
The hole behind the strike plate must be deep enough to accommodate the fully extended deadbolt.
If the hole is too shallow or filled with debris, the bolt may stop before completing its movement.
Incorrect Smart Lock Installation
Sometimes, the issue is inside the lock assembly.
Overtightened mounting screws, an incorrectly positioned tailpiece, or improperly installed components can cause the deadbolt to bind.
This is especially likely when the problem starts immediately after installation.
How to Diagnose a Misaligned Smart Lock Deadbolt
You don’t need to start removing hardware to find the problem. A few quick checks can usually point you in the right direction.
Start by opening the door and operating the deadbolt manually.
If it moves smoothly with the door open but gets stuck when closed, the problem is probably related to door alignment or the strike plate.
If the bolt struggles even when the door is open, inspect the lock installation and internal mechanism.
Use this table to narrow down the cause.
| Problem | Possible cause |
|---|---|
| Works open but not closed | Strike plate misalignment |
| Must lift the door to lock | Loose or sagging hinges |
| Must push the door inward | Weatherstripping or latch position |
| Deadbolt scrapes metal | Strike plate interference |
| Deadbolt doesn’t extend fully | Shallow bolt hole or obstruction |
| Lock struggles with door open | Installation or mechanical problem |
| Repeated jammed notifications | Bolt resistance or calibration issue |
| Manual locking works, electronic locking fails | Calibration, battery, or motor problem |
These symptoms are clues rather than definite diagnoses. Always test the lock before making adjustments.
Tools You’ll Need to Fix Deadbolt Alignment
Most minor alignment issues can be corrected with basic household tools.
You may need:
Phillips-head screwdriver
Measuring tape or ruler
Pencil or removable marking material
Flashlight
Small spirit level
Replacement hinge screws
Wood chisel for suitable wooden frames
Compatible replacement strike plate, if necessary
You won’t necessarily need everything listed here. Start with the simplest checks before attempting more involved repairs.
How to Fix Smart Lock Deadbolt Alignment Step by Step
The safest approach is to work from simple adjustments toward more involved repairs. Avoid cutting or enlarging the strike opening until you’ve confirmed where the problem lies.
Step 1: Test the Deadbolt With the Door Open
Open the door completely and use the interior thumbturn to extend and retract the deadbolt several times.
If your smart lock supports keypad or app control, test the electronic locking function as well.
Watch whether the bolt moves smoothly through its full range.
Why this works: Testing with the door open removes the door frame from the equation. If the lock works normally in this position, the motor and bolt mechanism are more likely to be functioning correctly.
If the bolt still sticks, inspect the installation before changing the strike plate.
Keep the door open while testing to avoid an accidental lockout.
Step 2: Find Where the Deadbolt Hits the Strike Plate
Close the door normally without forcing it.
Slowly turn the thumbturn and feel for resistance. If the bolt begins to bind, stop rather than forcing it.
Open the door and inspect the strike plate for scratches or worn metal.
You can also apply a small amount of washable chalk to the deadbolt’s contact surface. Gently attempt to extend it, then retract it and inspect the strike plate for transferred marks.
Why this works: Contact marks reveal where the bolt is rubbing, helping you make a precise adjustment instead of guessing.
If the bolt hits the bottom edge, for example, check whether the door has sagged before considering moving the strike plate.
Step 3: Tighten Loose Door Hinges
Open the door and inspect the hinges, paying particular attention to the upper hinge.
Look for loose screws, gaps between the hinge and frame, or signs that the door has dropped.
Tighten loose screws carefully with a screwdriver.
Then close the door and test the deadbolt again.
Why this works: Secure hinges help restore the door’s original position. Tightening them may bring the deadbolt back into alignment without changing the strike plate.
If a screw spins without tightening, the hole may be stripped.
For a wooden frame, a properly fitted wooden dowel and wood glue can sometimes restore the screw’s grip. Allow the glue to cure before reinstalling the screw.
Don’t overtighten the screws, as this can damage the wood or make the problem worse.
Step 4: Adjust the Deadbolt Strike Plate
If the hinges are secure but the bolt still rubs against the strike plate, the plate may need repositioning.
First, mark its current position with a pencil.
Remove the strike plate and inspect the opening underneath.
For minor interference, carefully remove only the material needed to provide adequate clearance, provided the lock manufacturer allows that modification.
If the entire plate needs to move, reposition it so the deadbolt enters the opening without resistance. Repair overlapping screw holes where necessary so the plate can be secured firmly.
Why this works: Correcting the strike opening allows the deadbolt to travel freely without hitting the surrounding metal or wood.
Avoid making the hole unnecessarily large. Excessive cutting or filing can weaken the strike plate and reduce the security of the door.
If major changes are required, consider professional adjustment or a manufacturer-approved replacement strike plate.
Step 5: Check the Deadbolt Hole Depth
Sometimes, the deadbolt lines up perfectly but still cannot extend all the way.
This usually happens when the pocket behind the strike plate is too shallow or obstructed.
Open the door and use a flashlight to inspect the hole.
Measure its depth and compare it with the manufacturer’s installation requirements for your specific smart lock.
If the frame is wooden and modification is permitted, carefully deepen the pocket using an appropriate tool.
Why this works: Providing enough space allows the deadbolt to reach its fully extended position without hitting the back of the frame.
Make small adjustments and check your progress frequently.
Avoid cutting into metal reinforcement, structural components, or unfamiliar door frame materials.
Step 6: Inspect Weatherstripping and Door Seals
Does the smart lock work only when you push or pull the door?
If so, weatherstripping may be creating too much pressure.
Check the rubber or foam seals around the door frame. Look for folded, oversized, or poorly installed sections.
Replace damaged weatherstripping or correct its position where necessary.
Also inspect the spring latch strike plate, which controls where the door rests when closed.
Why this works: Reducing unnecessary pressure helps the door settle naturally into the correct position, allowing the deadbolt to line up with its opening.
Don’t remove weatherstripping permanently without replacing it. Proper sealing helps prevent drafts, water intrusion, and energy loss.
Step 7: Check the Smart Lock Mounting Hardware
If the deadbolt remains difficult to operate with the door open, the installation itself may be responsible.
Review the manufacturer’s installation instructions and inspect the lock assembly.
Pay attention to the mounting plate, tailpiece, bolt orientation, and screw tension.
Look for parts that are crooked, pinched, or incorrectly seated.
Reinstall any incorrectly positioned components according to the manual.
Why this works: Properly aligned mounting hardware prevents internal binding and allows the bolt mechanism to move through its intended range.
Never leave mounting screws loose as a permanent solution. The lock should operate smoothly while remaining securely installed.
Step 8: Recalibrate the Smart Lock
After correcting the physical alignment, some smart locks may need recalibration.
Depending on the manufacturer, this process may be called door handing, lock calibration, or automatic handing.
Follow the procedure in your lock’s companion app or installation manual.
Why this works: Calibration helps the electronic system recognize the correct locking direction or bolt movement.
However, recalibration cannot fix a bolt that physically hits the strike plate. Always resolve mechanical resistance first.
How to Fix Common Smart Lock Deadbolt Problems
Even after adjusting the door, you may encounter symptoms that need more specific attention.
Smart Lock Works Open but Not Closed
This strongly suggests the deadbolt is contacting the strike plate or encountering resistance inside the frame.
Check hinge alignment, strike plate position, and bolt pocket depth.
Avoid factory resetting the smart lock unless the manufacturer specifically recommends it. Software resets cannot correct physical obstructions.
Smart Lock Makes Grinding or Clicking Noises
Grinding or repeated clicking may mean the motor is struggling against resistance.
Stop repeated locking attempts to avoid unnecessary wear.
Test the deadbolt manually with the door open.
If the noise disappears, inspect the frame alignment. If it continues, the lock mechanism or installation may need attention.
Smart Lock Says Jammed but the Door Is Closed
A closed door doesn’t necessarily mean the deadbolt is fully engaged.
Check whether the bolt extends completely and enters the strike opening without resistance.
If the mechanical problem has been corrected, run the supported calibration procedure and test the lock again.
Smart Lock Batteries Drain Too Quickly
Misalignment can increase the work required from the motor, potentially contributing to shorter battery life.
Correct any resistance before repeatedly replacing batteries.
Also use the recommended battery type and check for other causes, such as frequent operation, low temperatures, or wireless connectivity issues.
Deadbolt Works Only When You Lift the Door
This usually suggests the door has sagged or shifted.
Inspect the upper hinge and check whether the gap around the door is uneven.
Correcting the hinge support is generally better than making a large strike plate modification to compensate for a sagging door.
Smart Lock Deadbolt Alignment Tips for Popular Brands
Most smart deadbolts follow the same mechanical principles, but their calibration and installation requirements can differ.
Schlage Smart Locks
For Schlage Encode, Encode Plus, and other Schlage deadbolts, begin with an open-door operation test.
If the bolt moves smoothly while open but sticks when closed, inspect the strike opening and door position.
Check the model-specific installation instructions before changing the bolt pocket or strike plate.
Yale Smart Locks
Yale Assure and similar smart deadbolts can experience resistance when the strike plate or regular door latch is incorrectly positioned.
Check manual operation first. If the mechanism is smooth but electronic operation fails, review the door-handing or calibration procedure for your model.
August Smart Locks
Many August models operate an existing deadbolt.
Because they rely on the original mechanical hardware, an existing alignment problem can become more noticeable after installing the smart lock.
Make sure the original deadbolt turns smoothly before calibrating the August mechanism.
Kwikset Smart Locks
For Kwikset smart deadbolts, inspect bolt orientation, mounting hardware, and strike plate alignment.
Some models also require an automatic door-handing procedure after installation or maintenance.
Follow the instructions for your specific model rather than assuming all Kwikset locks use the same process.
How to Prevent Smart Lock Deadbolt Alignment Problems
A little routine maintenance can prevent many recurring deadbolt problems.
Check door hinges every few months, especially on heavy exterior doors. Loose screws should be addressed before the door begins to sag.
Keep the strike plate securely attached and inspect the bolt opening for dust, debris, or damage.
Pay attention to seasonal changes. If the door becomes difficult to close during humid weather, investigate swelling or weatherstripping pressure.
You should also avoid repeatedly forcing a jammed lock. Doing so may wear down the motor or internal gears.
If lubrication is necessary, use only a product recommended by the lock manufacturer. General-purpose oils or thick grease may attract dirt or damage certain components.
Finally, test both manual and electronic locking after making changes to the door, hinges, or weatherstripping.
When Should You Replace a Smart Lock or Call a Locksmith?
Not every deadbolt alignment problem is suitable for a DIY repair.
Professional help may be necessary if the door frame is warped, the hinges are badly damaged, or the strike plate cannot be repositioned securely.
You should also consider expert assistance when the lock continues grinding with the door open or the deadbolt appears bent or damaged.
For fire-rated doors, reinforced metal frames, or specialized security systems, use approved repair methods rather than modifying the hardware yourself.
Replacing the entire smart lock should usually be a last resort.
If the motor and electronics still work correctly, a hinge repair, replacement bolt assembly, or compatible strike plate may solve the problem at a much lower cost.
However, upgrading can make sense if the lock has recurring internal failures, damaged mechanical components, or is no longer supported by its manufacturer.
Choose a replacement based on door compatibility, reliable operation, security features, and long-term support rather than convenience features alone.
Frequently Asked Questions About Smart Lock Deadbolt Alignment
Why does my smart lock work when the door is open but not closed?
The deadbolt is likely encountering resistance from the strike plate or door frame. Check the hinges, strike opening, weatherstripping, and bolt hole depth before troubleshooting the electronics.
Can a misaligned deadbolt drain smart lock batteries?
Yes. A motor that repeatedly encounters resistance may use more power or make additional locking attempts, which can shorten battery life.
How do I know if my strike plate is misaligned?
Look for rubbing marks around the strike opening. You can also use removable marking material on the bolt to identify its contact point.
Should a smart lock deadbolt touch the strike plate?
The bolt should enter the strike opening smoothly without significant scraping or binding. Repeated contact that creates resistance indicates an adjustment may be needed.
Can I fix deadbolt alignment without removing the smart lock?
In many cases, yes. Tightening hinges, correcting the strike position, and adjusting weatherstripping can often solve the problem without removing the lock.
Why is my smart lock difficult to turn manually?
The bolt may be rubbing against the frame, or the lock’s internal components may be binding. Test it with the door open to distinguish between these possibilities.
Can weather changes affect smart lock alignment?
Yes. Wooden doors can expand and contract with changing moisture levels, which may alter the bolt’s position relative to the strike plate.
How often should I check deadbolt alignment?
A quick inspection every few months is reasonable. Check sooner if you notice grinding noises, locking failures, unusual resistance, or changes in how the door closes.
Final Thoughts: Keep Your Smart Lock Working Smoothly
A smart lock deadbolt alignment problem can be inconvenient, but it doesn’t automatically mean the lock is defective.
More often, the problem comes from a loose hinge, shifting door, incorrectly positioned strike plate, or insufficient clearance behind the bolt.
The simplest way to fix it is to test the deadbolt with the door open, locate the source of resistance, and make the smallest necessary adjustment.
Start with basic checks before attempting more involved repairs. Once the bolt moves freely, complete any required calibration and test both manual and electronic locking.
With proper alignment and occasional maintenance, your smart lock can continue providing the convenience, reliability, and security you expect—without forcing the door or replacing hardware unnecessarily.