
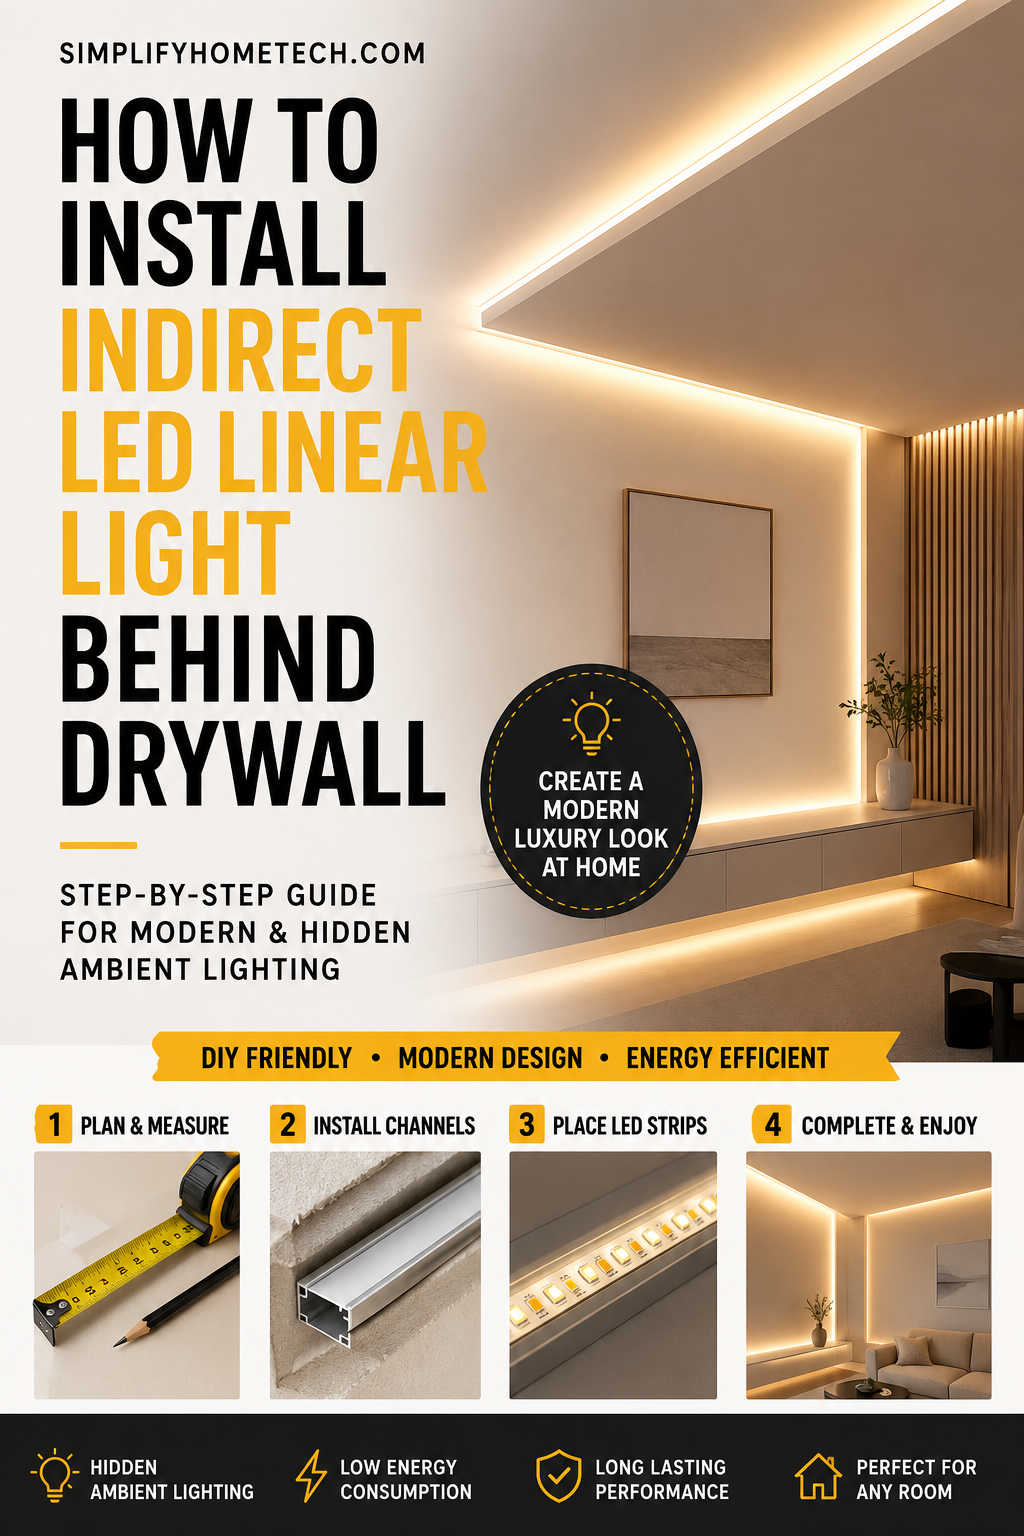
Modern interior design has shifted toward cleaner lines, softer lighting, and more architectural detail. One of the most effective ways to achieve that upscale modern look is by installing indirect LED linear lighting behind drywall. Hidden LED lighting creates a smooth glow that enhances ceilings, walls, and architectural features without exposing the light source itself.
This style of lighting is now common in luxury homes, apartments, hotels, offices, and commercial spaces because it adds depth, warmth, and elegance to almost any room. Whether you want a cozy bedroom atmosphere, a dramatic living room ceiling, or a sleek hallway accent, indirect LED lighting can completely transform the space.
The good news is that installing LED linear lights behind drywall is no longer limited to professional contractors. With proper planning, the right materials, and careful installation, homeowners and DIY enthusiasts can successfully create a polished lighting system that looks professionally built.
This guide covers everything you need to know, from planning and wiring to drywall preparation and finishing techniques.
What Is Indirect LED Linear Lighting?
Indirect LED linear lighting is a concealed lighting method where the light fixture remains hidden behind drywall, ceiling coves, soffits, or recessed channels. Instead of seeing the LED strip directly, the light reflects softly off nearby surfaces such as ceilings or walls.
The result is a diffused glow that feels comfortable, modern, and visually clean.
Unlike traditional ceiling fixtures that shine directly into a room, indirect lighting creates atmosphere rather than harsh illumination. It is often used to enhance architectural details and provide ambient lighting without overpowering the space.
This lighting technique is especially popular in:
- Floating ceilings
- Accent walls
- Living rooms
- Bedrooms
- Hallways
- Media walls
- Kitchen ceilings
- Luxury commercial interiors
The hidden design gives interiors a high-end appearance while still remaining energy efficient.
Why Indirect LED Lighting Is So Popular
There are several reasons why indirect LED lighting has become one of the biggest interior lighting trends.
The first reason is visual comfort. Direct lighting can create glare, especially in modern homes with large televisions, glossy surfaces, and open layouts. Indirect lighting softens the brightness and creates a more relaxing atmosphere.
Another major advantage is aesthetics. Hidden linear lights add depth and dimension to ceilings and walls. Even simple rooms instantly feel more expensive and professionally designed.
Energy efficiency is another reason homeowners prefer LED systems. LED strips use significantly less electricity than traditional incandescent or fluorescent fixtures while lasting much longer.
Indirect LED lighting is also extremely versatile. It works well in modern, minimalist, contemporary, industrial, and even traditional interiors when designed correctly.
Best Places to Install Indirect LED Linear Lights
One of the biggest strengths of hidden LED lighting is flexibility. You can install it in many different areas of a home or commercial building.
Ceiling Cove Lighting
Ceiling coves are one of the most common applications. The LED strip is hidden inside a recessed ceiling edge, allowing the light to reflect upward across the ceiling surface.
This creates a soft glow that works beautifully in living rooms, dining rooms, and bedrooms.
Floating Ceiling Designs
Modern floating ceilings often use hidden LED strips between ceiling layers. This creates a dramatic suspended effect that instantly makes a room look more luxurious.
Accent Walls
Indirect lighting behind decorative wall panels or media walls adds depth and visual interest. It is especially effective around televisions and entertainment centers.
Hallways and Staircases
Hidden LED lighting improves visibility while maintaining a sleek appearance. It can also serve as subtle nighttime lighting without overwhelming brightness.
Kitchen Designs
Indirect lighting works well above cabinets, inside recessed ceilings, and under islands. It creates a clean modern look while improving functionality.
Planning Your LED Lighting Installation
A successful installation starts with proper planning. Rushing into the project without a layout often leads to uneven lighting, visible LED strips, or difficult wiring problems later.
Before cutting drywall or purchasing materials, determine exactly where the lighting will go and how the final glow should appear.
Think about the mood you want to create. Warm lighting works better in bedrooms and living rooms, while brighter neutral lighting is usually better for kitchens and offices.
Measure every section carefully and calculate the total length of LED strips needed. Always purchase slightly more than required to allow for corners, connectors, and adjustments.
You should also decide where the LED driver and power supply will be installed. One of the biggest mistakes people make is permanently hiding the driver behind drywall without future access.
Drivers can fail over time, so accessibility is important.
Choosing the Right LED Strip Lights
Not all LED strips produce the same results. Choosing quality lighting components makes a major difference in brightness, longevity, and overall appearance.
Color Temperature
Color temperature affects the feel of a room.
Warm white LEDs around 2700K to 3000K create a cozy and relaxing atmosphere. These are ideal for bedrooms and living spaces.
Neutral white LEDs between 3500K and 4000K offer a balanced appearance suitable for kitchens, bathrooms, and offices.
Cool white LEDs above 5000K create a crisp modern appearance but can sometimes feel too clinical for residential spaces.
Brightness Levels
Brightness is measured in lumens. Indirect lighting typically requires moderate brightness because the light reflects off surfaces instead of shining directly.
For ambient lighting, softer output often produces better visual comfort.
CRI Rating
CRI stands for Color Rendering Index. Higher CRI values produce more natural-looking colors indoors.
For residential spaces, choose LED strips with a CRI of 90 or higher whenever possible.
Dimmable Features
Dimmable LED systems provide better flexibility. You can reduce brightness for relaxing evenings or increase illumination when needed.
Recommended Products for Indirect LED Lighting
Choosing reliable lighting products can significantly improve the final results and reduce future maintenance problems.
LED Strip Lights
Look for high-density LED strips rather than low-cost generic options. Higher density strips create smoother light with fewer visible hotspots.
COB LED strips are particularly effective for indirect lighting because they produce continuous illumination instead of visible dots.
Aluminum LED Channels
Aluminum channels are highly recommended for professional-looking installations. They help dissipate heat, extend LED lifespan, and provide a cleaner finish.
Channels with diffuser covers create softer and more uniform lighting.
LED Drivers
Always choose a high-quality driver with enough power capacity. Cheap drivers are one of the most common causes of flickering and premature failure.
It is usually best to choose a driver with at least 20 percent more wattage capacity than your LED strips require.
Smart Controllers
Smart controllers allow remote control, dimming, scheduling, and voice assistant integration. These systems are especially useful in modern smart homes.
Tools and Materials Needed
Before beginning installation, gather all necessary tools and supplies.
You will typically need:
- LED strip lights
- Aluminum channels
- LED driver
- Electrical wire
- Drywall panels
- Joint compound
- Screws and mounting clips
- Measuring tape
- Drill
- Screwdriver
- Utility knife
- Drywall saw
- Stud finder
- Wire stripper
- Level
- Safety goggles
Having everything ready before starting makes the installation process much smoother.
Step-by-Step Guide to Installing Indirect LED Linear Lights Behind Drywall
Step 1: Turn Off Electrical Power
Safety should always come first. Turn off power at the breaker panel before handling electrical wiring.
Use a voltage tester to confirm the circuit is inactive before touching wires.
Step 2: Build the Recessed Area
Indirect lighting requires a hidden cavity where the LED strip will remain concealed from view.
This is commonly achieved using:
- Ceiling coves
- Soffits
- Floating ceiling frames
- Recessed wall channels
The recessed area should hide the LED strip while still allowing the light to spread evenly across nearby surfaces.
Careful measurements are important here because the angle and depth affect the final lighting effect.
Step 3: Install Framing
If you are creating a new cove or floating ceiling, install the framing structure first.
Wood or metal framing can be used depending on the project.
The frame must remain stable and level because uneven framing often causes drywall cracking later.
Step 4: Run Electrical Wiring
Next, run wiring from the power source to the LED driver location.
Low-voltage wiring should remain organized and securely fastened.
If you are unfamiliar with electrical work, consider hiring a licensed electrician for this part of the installation.
Proper wiring is essential for safety and long-term reliability.
Step 5: Install Aluminum Channels
Aluminum channels provide a clean mounting surface for LED strips while helping dissipate heat.
Secure the channels using screws or mounting clips.
Position them carefully so the LED strip itself remains hidden from normal viewing angles.
This hidden placement is what creates the indirect lighting effect.
Step 6: Attach the LED Strips
Most LED strips include adhesive backing for installation.
Clean the channel surface before applying the strip. Press evenly to ensure full contact.
Avoid bending strips sharply, especially near connectors.
For longer installations, use proper connectors or soldered joints to maintain consistent brightness.
Step 7: Connect the Driver
Connect the LED strips to the power driver according to manufacturer instructions.
Double-check polarity and voltage compatibility before turning the system on.
Loose connections can cause flickering or uneven lighting.
Step 8: Test the Lighting
Before closing the drywall, fully test the system.
Check for:
- Flickering
- Uneven brightness
- Dead sections
- Color inconsistency
- Overheating
It is much easier to fix issues now rather than after drywall finishing.
Step 9: Install and Finish Drywall
Once testing is complete, install drywall panels around the lighting system.
Tape the joints, apply compound, sand smooth, and paint the finished surface.
The LED strips should remain hidden while the reflected glow becomes visible.
This is the point where the installation truly starts to look professional.
Common Mistakes to Avoid
Even experienced DIY installers sometimes make avoidable mistakes during indirect lighting projects.
One of the most common problems is placing the LED strip too close to the visible edge. This exposes the light source and ruins the soft indirect effect.
Another issue is using low-quality adhesive strips without aluminum channels. Over time, heat can weaken adhesives and cause the strips to sag or detach.
Poor driver placement is another mistake. Drivers should remain accessible for future replacement or maintenance.
Ignoring ventilation can also shorten LED lifespan. Although LEDs run cooler than traditional bulbs, they still generate heat that needs proper dissipation.
Finally, avoid buying extremely cheap LED strips. Low-quality products often produce inconsistent brightness, poor color accuracy, and premature failure.
How to Create a More Professional Lighting Effect
Professional-looking indirect lighting depends heavily on positioning and diffusion.
The farther the light source sits from the reflective surface, the softer and smoother the glow becomes.
Using diffuser covers also helps eliminate visible LED dots and creates a more continuous appearance.
Paint color matters as well. Lighter ceilings reflect indirect light more effectively, while darker surfaces absorb more brightness.
Dimmers can dramatically improve the atmosphere by allowing brightness adjustments throughout the day.
Many luxury interiors use warm dimmable lighting because it creates a more relaxing environment in the evening.
Smart Home Integration Options
Modern LED systems can integrate easily with smart home technology.
Smart controllers allow users to:
- Adjust brightness remotely
- Create lighting schedules
- Use voice commands
- Change colors
- Automate scenes
Systems compatible with Wi-Fi or smart assistants are especially popular in modern homes.
Smart lighting adds convenience while improving energy efficiency.
Maintenance Tips for Long-Term Performance
Indirect LED lighting requires very little maintenance, but regular care helps maximize lifespan.
Dust accumulation can reduce brightness over time, especially inside ceiling coves.
Use a soft microfiber cloth to clean accessible surfaces periodically.
Check driver ventilation occasionally to ensure heat can escape properly.
If a section of LED strip fails, replace it promptly to prevent electrical strain on surrounding components.
High-quality systems can last many years with minimal maintenance.
DIY vs Professional Installation
Many homeowners successfully install indirect LED lighting themselves, especially for smaller projects.
DIY installation can save significant money if you already have basic drywall and electrical skills.
However, professional installation may be worth considering for:
- Large ceilings
- Complex architectural designs
- High-end finishes
- Commercial projects
- Advanced smart systems
Professionals can often achieve cleaner drywall transitions and more consistent lighting effects.
Estimated Installation Costs
Project costs vary depending on room size, fixture quality, and installation complexity.
Basic DIY installations may cost only a few hundred dollars, especially when using flexible LED strips.
More advanced systems with custom drywall work, premium fixtures, and smart controls can cost several thousand dollars.
While the upfront investment may seem high, indirect LED lighting adds long-term visual value and energy efficiency to a home.
Final Thoughts
Installing indirect LED linear lights behind drywall is one of the most effective ways to create a modern and visually striking interior. Hidden lighting adds depth, atmosphere, and elegance without overwhelming a room with harsh brightness.
Whether you are designing a floating ceiling, upgrading a media wall, or creating ambient bedroom lighting, indirect LEDs provide a clean architectural look that feels both modern and timeless.
The key to success is careful planning, quality materials, and precise installation. Small details such as LED placement, channel selection, and driver accessibility make a huge difference in the final appearance.
With the right approach, even a simple room can feel dramatically more sophisticated through the power of hidden linear lighting.
Frequently Asked Questions
Can LED strip lights be installed directly behind drywall?
LED strips should not be buried directly into drywall without ventilation or channels. Aluminum channels help improve safety, heat dissipation, and longevity.
What is the best color temperature for indirect lighting?
Warm white lighting between 2700K and 3000K is usually best for residential spaces because it creates a comfortable and relaxing atmosphere.
Do indirect LED lights use a lot of electricity?
No. LED lighting is highly energy efficient and consumes far less electricity than traditional lighting systems.
How long do LED linear lights last?
High-quality LED systems can last between 30,000 and 50,000 hours depending on usage and heat management.
Are aluminum channels necessary?
They are strongly recommended because they improve cooling, create straighter installations, and produce more professional-looking lighting.
Can indirect LED lighting be dimmed?
Yes. Most modern LED systems support dimming when paired with compatible drivers and dimmer controls.
Is professional installation required?
Not always. Smaller projects are often DIY-friendly, but complex ceiling designs or electrical work may require professional assistance.