
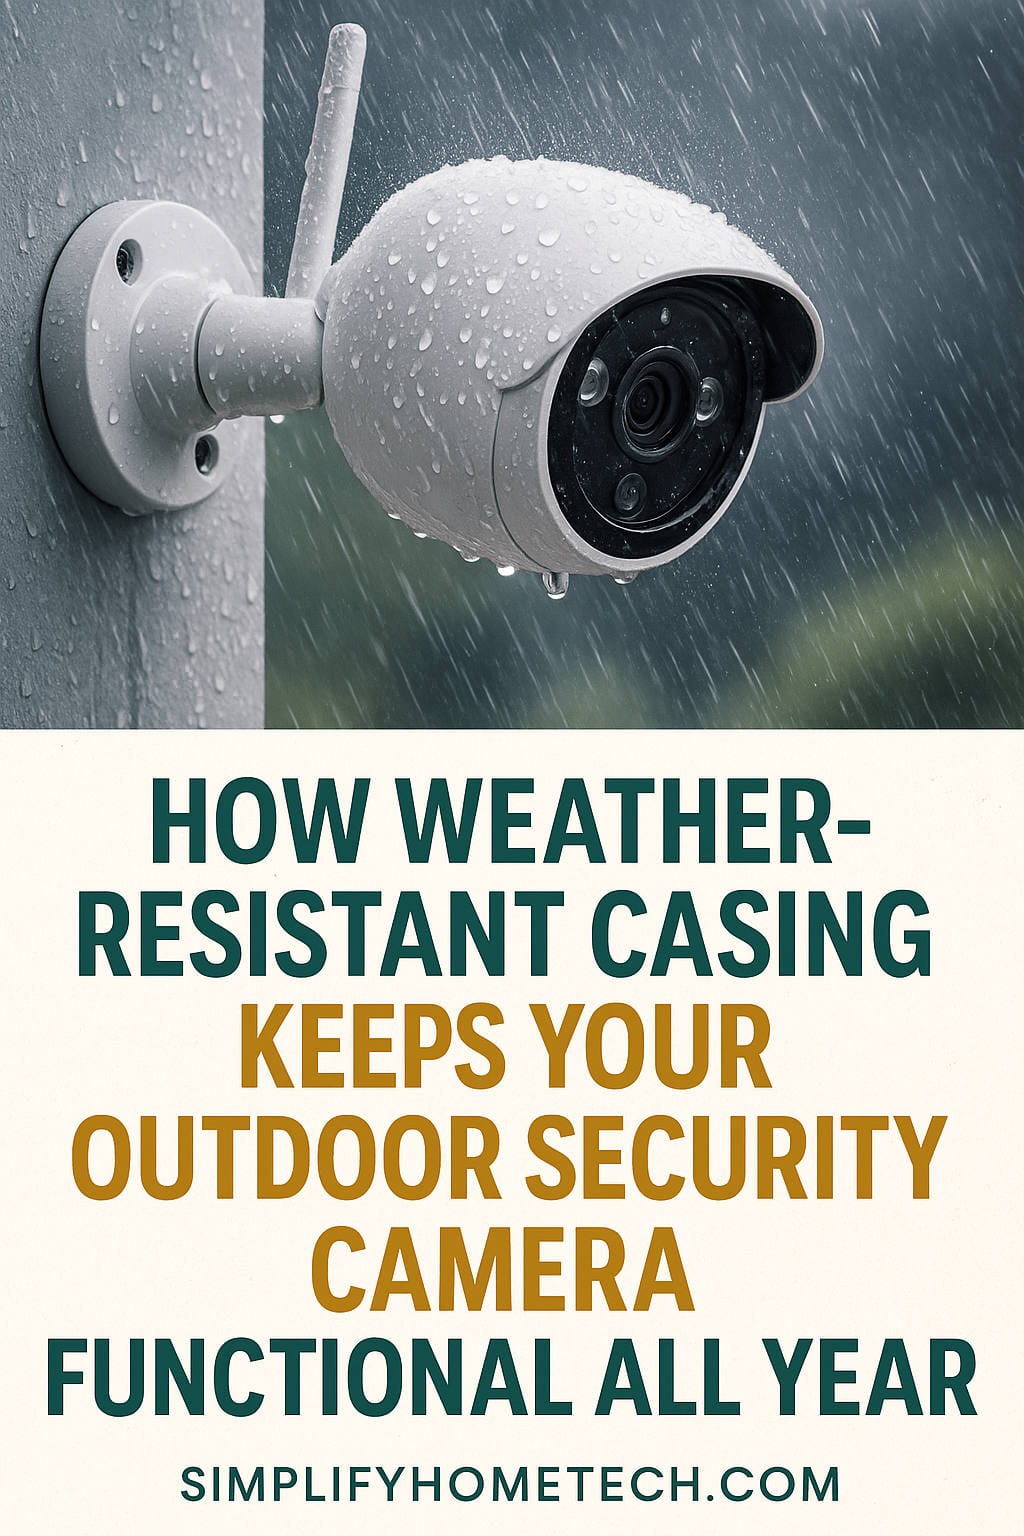
You’ve found the ideal spot for your outdoor security camera—a clear line of sight over the driveway, the front door, and that fence you keep meaning to repair. You mount it, wire it up, and enjoy that reassuring feeling of being covered.
Then the first heavy storm arrives.
A week later, the footage looks hazy. A month later, the camera stops responding altogether. When you finally take it down, you find a small puddle sitting right where the circuit board lives.
Nine times out of ten, the camera itself wasn’t the problem. The casing was.
Knowing what a weather-resistant housing genuinely protects against—and where its limits lie—is what separates a camera that runs for years from one that dies after a single season. Let’s break down how these enclosures work, what the ratings really mean, and how to install and maintain one so it survives whatever your local climate throws at it.
What “Weather-Resistant” Really Means
The security camera market has a vocabulary problem. Terms like “waterproof” and “weatherproof” get tossed around as if they’re guarantees, but they aren’t standardized promises. The specification that actually matters is the IP rating—Ingress Protection—defined by the international standard IEC 60529. It tells you precisely how well an enclosure keeps out solids and liquids, expressed as two digits: the first covers dust and solid objects (0–6), the second covers water (0–9).
Outdoor cameras commonly carry ratings like IP65, IP66, or IP67, and the differences are meaningful. An IP65 housing is fully dust-tight and withstands low-pressure water jets from any direction—adequate for a camera sheltered under an eave or porch roof. An IP66 unit adds resistance to powerful jets, which is the smarter baseline for a camera mounted on an exposed wall with no overhead cover. IP67 goes further, surviving temporary immersion in up to a meter of water for half an hour—more than most homes need, but worth considering if you mount cameras low or live in a flood-prone area.
Here’s the catch most buyers overlook: the IP rating describes the housing, not your entire installation. Cable ports, connectors, and junction points are separate weak links. A camera with a flawless IP67 body will still fail if water creeps in through a poorly sealed cable entry.
How a Weather-Resistant Casing Protects Your Camera
A quality outdoor enclosure isn’t just a plastic shell. It’s an engineered system doing several jobs at once, and understanding those jobs helps you evaluate what you’re buying.
Sealing Out Water While Managing Moisture Inside
Gaskets and seals keep rain out, but the sneakier enemy is condensation. When temperatures swing between warm days and cold nights, moisture trapped inside the housing condenses on the lens or circuit board—fogging your footage and corroding electronics. That’s why better housings incorporate breathable vents, desiccant packs, or small internal heaters and fans to keep the interior dry.
Some professional-grade enclosures take this further with pressurized housings—Sony’s outdoor dome models, for instance, fill the enclosure with dry nitrogen and use a relief valve to maintain positive pressure, actively sealing microscopic gaps. That’s beyond typical homeowner needs, but it illustrates how seriously manufacturers treat internal moisture.
Withstanding Temperature Extremes
Cold stiffens moving parts and saps battery performance, while heat cooks electronics. A proper outdoor casing is built to operate across a temperature range that suits real-world climates. Many standard cameras run from roughly -10°C to 50°C (14°F to 122°F), but better models extend that span with integrated heaters or thermal management. If you face harsh winters or desert summers, check the operating temperature spec as carefully as the IP rating—a “weather-resistant” camera rated only to -10°C will struggle through a Minnesota January.
Resisting UV Damage and Physical Impact
Sunlight degrades cheap plastics. Over months and years, UV exposure makes housings brittle and causes seals to crack, silently undermining the water resistance you paid for. Look for UV-resistant materials—polycarbonate domes and treated plastics—especially if your camera faces direct sun for hours daily. Hail and wind-blown debris pose the other physical threat; a hardened housing won’t survive a direct hit from a baseball-sized hailstone, but it will shrug off the smaller impacts that crack flimsy shells.
Why Installation Matters as Much as the Casing
Even a premium enclosure can fail if it’s installed carelessly, and the most common failure point isn’t the housing at all—it’s the cable entry. Water runs down a cable, finds the weakest seal, and wicks its way inside. That’s why professional installers build a drip loop: a small sag in the cable just before it enters the camera, so water drips off at the low point instead of running straight into the connection. It’s a two-second habit that prevents a very common failure.
Outdoor-rated cables with UV-resistant jackets and sealed connectors are equally non-negotiable for wired setups. If you’re running Power over Ethernet, a weatherproof junction box at the connection point is inexpensive insurance. And placement still counts, even with an IP67 camera—mounting under an eave or awning reduces direct exposure to rain, snow, and sun, extending the casing’s useful life. Avoid tilting the camera upward, where water can pool on the lens and leave stubborn stains.
Troubleshooting Common Weather-Related Camera Problems
When an outdoor camera starts misbehaving after bad weather, the fix is usually simpler than replacing it. Working through the likely causes in order saves time and money.
If your feed looks foggy or blurry, moisture has probably condensed inside the housing or on the lens. Bringing the camera indoors to dry out in a warm, dry room—and replacing any spent desiccant packs—resolves condensation because it removes the trapped humidity rather than just wiping the symptom away. If the fog returns, a failed seal is letting new moisture in, and the gasket needs inspection or replacement.
If the camera loses power or drops offline during storms, suspect the cable connections before the camera itself. Water in an unsealed connector causes corrosion and intermittent contact; reseating the connectors with dielectric grease and a proper weatherproof junction box restores a reliable connection because it eliminates the pathway water was using.
If footage looks washed out or shows strange color shifts, UV damage to the dome or lens coating may be the cause. A replacement dome is often available separately and costs far less than a new camera. And if the housing itself has become brittle or cracked, that’s your signal that the plastic has reached the end of its UV life—at which point a new enclosure, not a new camera, is the economical fix.
What to Look For When Buying
When you’re comparing outdoor cameras, here’s the practical checklist. Aim for at least IP65 if the camera sits under cover, IP66 for exposed walls, and IP67 if flooding or low mounting is a concern. Match the operating temperature range to your local climate, and confirm the housing material is UV-resistant rather than generic plastic.
Equally important is what not to assume. “Weatherproof” on the box means nothing specific without a rating behind it, and an IP rating never covers your cables and connectors. Seals also degrade over time with UV exposure and temperature cycling, so plan to inspect gaskets annually and clean the lens and housing each quarter—catching a worn seal early is far cheaper than replacing a waterlogged camera.
Frequently Overlooked Maintenance That Extends Camera Life
A weather-resistant casing isn’t a fit-and-forget component. Gaskets compress and crack, vents clog with dust, and drainage channels fill with debris—all of which quietly erode protection. A quick annual inspection that includes checking seal flexibility, clearing debris from the housing, and verifying the drip loop is still intact will add years to the unit’s service life. Cleaning the lens quarterly also keeps footage sharp and makes it easier to spot the early warning signs of moisture intrusion, like faint fogging at the edges of the frame.
The Bottom Line
A weather-resistant casing is the unsung hero of any outdoor security setup. It’s not glamorous—nobody films unboxing videos of gaskets and seal rings—but it’s the difference between a camera that watches over your home through every season and one that becomes expensive plastic after the first hard freeze.
Buy based on the IP rating, install with water management in mind, and maintain the seals year after year. If you’re troubleshooting an ailing camera, start with the simple fixes above—drying out the housing, resealing the connections, and replacing worn gaskets—before spending money on a replacement. Most weather-related failures are preventable, and a little attention now keeps your camera quietly doing its job from its sealed fortress on the wall.
You might also like,