
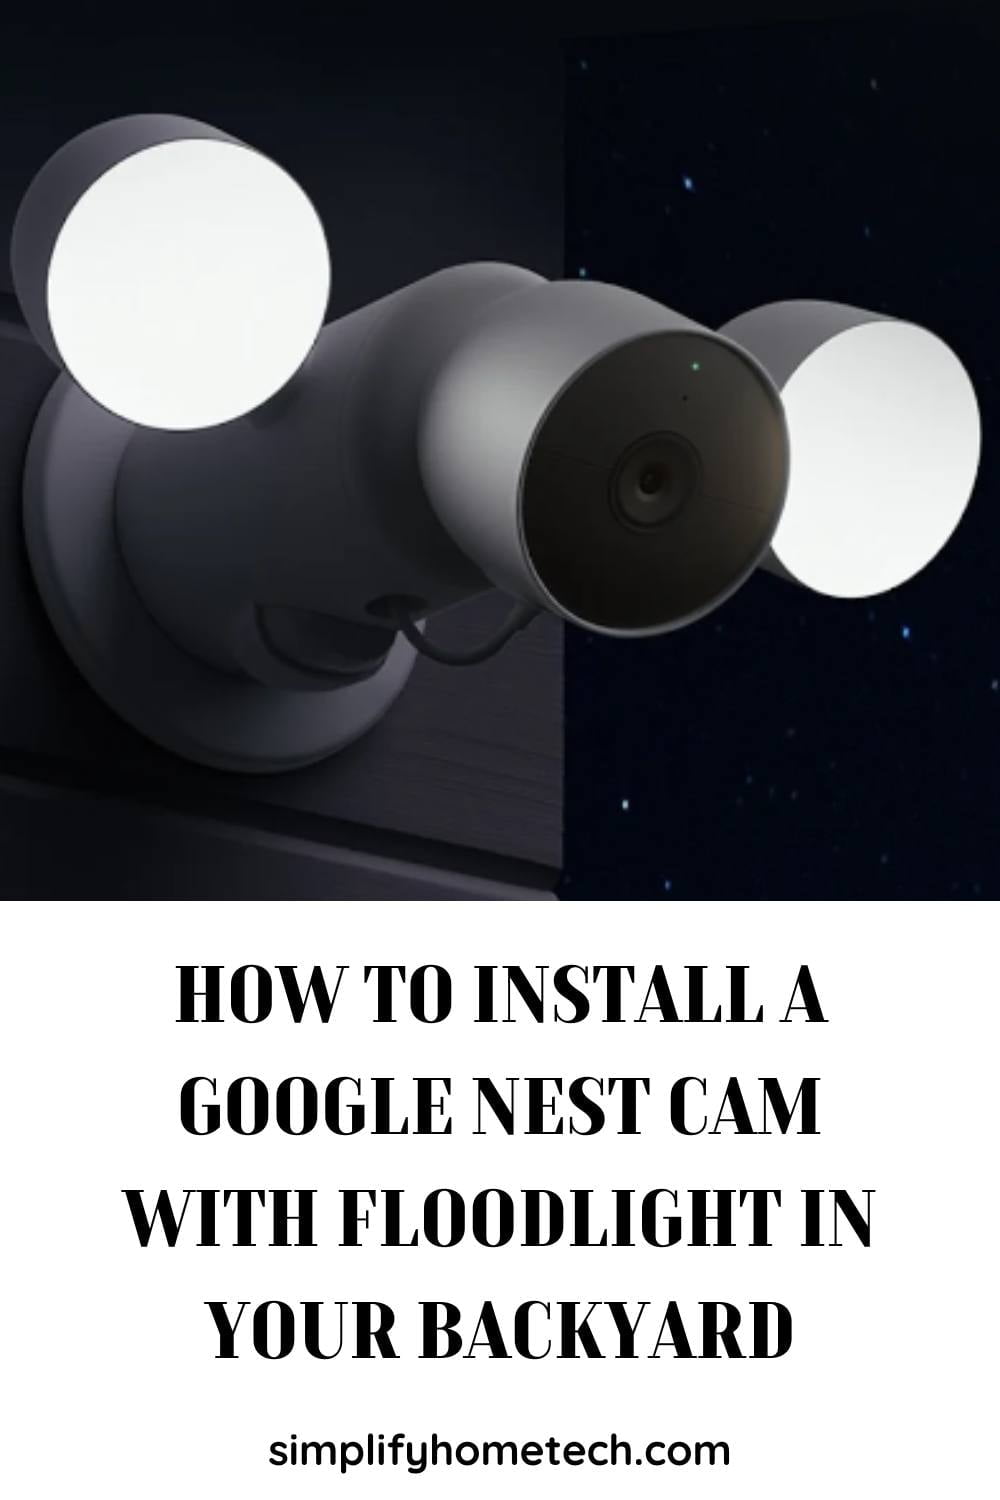
If you’re serious about keeping your home safe and well-lit, a Google Nest Cam with Floodlight is one of the best upgrades you can make to your backyard. It’s not just a security camera — it’s a smart, motion-activated lighting solution that lets you see clearly at night, deter intruders, and get real-time alerts right to your phone.
This guide walks you through every step of the process — from picking the best location to wiring it safely, mounting it securely, and setting it up in the Google Home app. I’ll also share troubleshooting tips, ways to improve camera performance, and how to keep it working perfectly for years.
Why choose a Google Nest Cam with Floodlight for your backyard?
Before we jump into the how-to, it’s worth knowing why this camera is such a popular choice:
- Two-in-one device – It’s both a security camera and a floodlight. That means fewer devices to install and maintain.
- Smart lighting – The floodlight turns on automatically when motion is detected, scaring off unwanted visitors and giving you a clear, bright view.
- High-quality video – The camera records in crisp detail, day or night, and offers live streaming right in the Google Home app.
- Smart alerts – It can distinguish between people, animals, and vehicles, so you only get notifications you actually care about.
- Weather-resistant – Built for outdoor use, it handles rain, snow, and heat without issue.
What you’ll need before starting
Tools
- Ladder (tall enough to reach installation height safely)
- Drill with bits for wood, brick, or masonry (depending on your mounting surface)
- Phillips and flathead screwdrivers
- Wire strippers and cutters
- Voltage tester (non-contact is best for safety)
- Needle-nose pliers
- Weather-rated wire connectors (wire nuts)
- Electrical tape
- Exterior-grade silicone caulk or rubber grommet for weatherproofing
- Tape measure and pencil/marker
Materials
- Google Nest Cam with Floodlight (wired version)
- Existing outdoor junction box or a spot where one can be installed
- Optional: Wi-Fi extender if your signal is weak in the backyard
Safety first — don’t skip this section
Working with household wiring can be dangerous. Here are the golden rules before you even think about touching a wire:
- Cut the power at the breaker — Don’t just switch off the light; turn off the entire circuit from your breaker panel.
- Verify with a tester — Use a non-contact voltage tester to make sure there’s no live current in the wires you’re about to handle.
- Avoid bad weather — Never work on electrical wiring in the rain or while standing on wet surfaces.
- Know your limits — If any part of this feels outside your skill set, hire a licensed electrician. There’s no shame in letting a pro handle it.
- Check local rules — Some cities require a permit for outdoor electrical work.
Choosing the best installation spot
Where you put your Nest Cam with Floodlight makes a huge difference in performance.
Things to consider:
- Coverage – Pick a spot that lets the camera cover the area you want to monitor, whether that’s the entire yard, a patio, or the back gate.
- Height – Mount it around 8–12 feet high. This height provides a good view while keeping it out of easy reach for tampering.
- Lighting angle – Avoid pointing the floodlight directly at your windows or into your neighbor’s property.
- Wi-Fi signal – Make sure the location has a strong, stable Wi-Fi connection. Test it with your phone by streaming video in that spot.
- Power source – The camera needs to connect to a junction box or wiring point with constant power.
Pro tip: Stand where you think you’ll install the camera and imagine the field of view. If possible, use your phone’s camera as a test — hold it at that height and see what it captures.
Step-by-step installation
This assumes you already have a junction box or outdoor light you’re replacing. If you need a new wiring point, have an electrician install one first.
Step 1 – Turn off the power
Go to your home’s electrical panel and flip off the breaker controlling your outdoor light circuit. Then use your voltage tester to double-check that no current is flowing.
Step 2 – Remove the old fixture
If there’s an old floodlight or outdoor light in place:
- Unscrew the fixture from the junction box.
- Gently pull it away to expose the wires.
- Disconnect the wires by untwisting the connectors, keeping track of which wire is hot (usually black), neutral (usually white), and ground (bare or green).
Step 3 – Prepare the mounting plate
Your Nest Cam floodlight comes with a mounting plate designed to fit standard junction boxes:
- Feed the existing wires from your junction box through the hole in the plate.
- Line up the screw holes and attach the plate firmly to the junction box.
- If your wall isn’t perfectly flat, use a gasket or weatherproof seal between the plate and the wall.
Step 4 – Make your electrical connections
Always follow the manufacturer’s color codes:
- Connect the neutral (white) wire from the supply to the white wire from the floodlight.
- Connect the hot (black) supply wire to the black wire from the floodlight.
- Attach the ground (bare or green) wire from the supply to the green wire or ground screw on the floodlight.
Use outdoor-rated wire connectors and twist them firmly until secure. Wrap each connection with electrical tape for extra protection, then gently tuck the wires back into the junction box.
Step 5 – Attach the floodlight
- Position the floodlight unit over the mounting plate.
- Twist or screw it into place according to the manufacturer’s instructions.
- Make sure it’s secure and won’t wobble in the wind.
Step 6 – Install the Nest Cam
The camera typically attaches magnetically to the floodlight assembly:
- Align the camera with its magnetic mount.
- Tilt and swivel it until it covers the area you want.
- Make sure it clicks firmly into place so it won’t get knocked off by wind or vibrations.
Step 7 – Weatherproof everything
Outdoor electronics need protection:
- Seal any gaps with exterior-grade silicone caulk.
- Ensure the unit’s gasket is flush against the wall.
- Double-check that all cable entry points are sealed to prevent water damage.
Step-by-step setup in the Google Home app
With the hardware installed, it’s time to get the camera online.
- Restore power — Flip the breaker back on. You should see the camera’s status light come on.
- Download Google Home — If you don’t already have it, get the app on your phone or tablet.
- Add device — Open the app, tap the “+” symbol, and choose “Set up device” → “New device.”
- Scan the QR code — You’ll find it on the camera or in the box.
- Connect to Wi-Fi — Choose your network and enter the password.
- Configure settings — Assign the camera to a “room” in the app, set motion zones, and adjust floodlight brightness and behavior.
Testing your installation
Once everything is connected:
- Check the video feed — Make sure it’s clear and covers the right area.
- Walk test — Move around the yard and see how well motion detection works. Adjust the angle if needed.
- Test the floodlight — Trigger it with motion and also try turning it on manually from the app.
- Night test — See how well the camera and floodlight perform in darkness.
Fine-tuning for best results
- Adjust camera angle — Tilt slightly downward to capture faces and prevent the sky from dominating the frame.
- Set custom motion zones — This reduces false alerts from cars, trees, or passing animals.
- Adjust light brightness — Too bright can cause glare; too dim reduces clarity.
- Rename your device — Give it a clear name in the app like “Backyard Floodlight Cam” so you can find it quickly.
Troubleshooting common problems
Camera not powering on
- Check the breaker and wiring connections.
- Make sure the wire nuts are secure and no wires are loose.
Weak Wi-Fi signal
- Move your router closer or add a mesh Wi-Fi point near the backyard.
- Avoid mounting the camera behind thick walls or metal objects.
Floodlight not activating
- Verify settings in the Google Home app.
- Ensure motion detection is turned on.
- Test in the dark — many floodlights won’t trigger during daylight unless forced on.
Too many false alerts
- Create smaller motion zones.
- Lower sensitivity settings in the app.
- Reposition the camera to avoid busy backgrounds.
Maintenance tips for long-term performance
- Clean the lens every few months with a soft cloth. Dirt and spider webs can ruin clarity.
- Check the mount twice a year to ensure it hasn’t loosened.
- Inspect weather seals and reapply caulk if needed.
- Update firmware via the Google Home app to keep features current.
Extra tips for homeowners
- Plan for future expansion – If you think you’ll want more cameras later, pick locations that allow overlapping views for better coverage.
- Be mindful of neighbors – Avoid aiming cameras at private areas. This not only respects privacy but can also keep you within local laws.
- Integrate with smart home routines – You can set the floodlight to come on at sunset or sync with other smart devices for layered security.
- Have a backup plan – Consider battery backup or surge protection to prevent outages during storms.
When to call in a professional
- No existing junction box or wiring.
- Damaged or corroded electrical connections.
- Complex integration with other home security systems.
- Lack of confidence in handling live wiring safely.
A professional electrician can usually install the camera in under an hour, and it’s worth the cost for peace of mind.
Final installation checklist
Before you put the ladder away, run through this quick list:
- Power is back on and breaker is labeled.
- Floodlight and camera are firmly mounted.
- All wiring is secure and tucked neatly.
- Gaskets and seals are tight, no gaps visible.
- Video feed is live and clear in the Google Home app.
- Motion detection works day and night.
- Floodlight brightness is properly adjusted.
- Wi-Fi connection is stable.
Wrapping up
Installing a Google Nest Cam with Floodlight in your backyard is a project most homeowners can tackle in an afternoon, provided there’s already a junction box in place. The key to success is careful planning: choose the right spot, follow safe wiring practices, and take the time to fine-tune your camera’s settings afterward.
Once installed, you’ll have a powerful combination of bright lighting, crystal-clear video, and smart alerts that make your backyard safer and more secure — all controlled from the palm of your hand.
You might also like,