
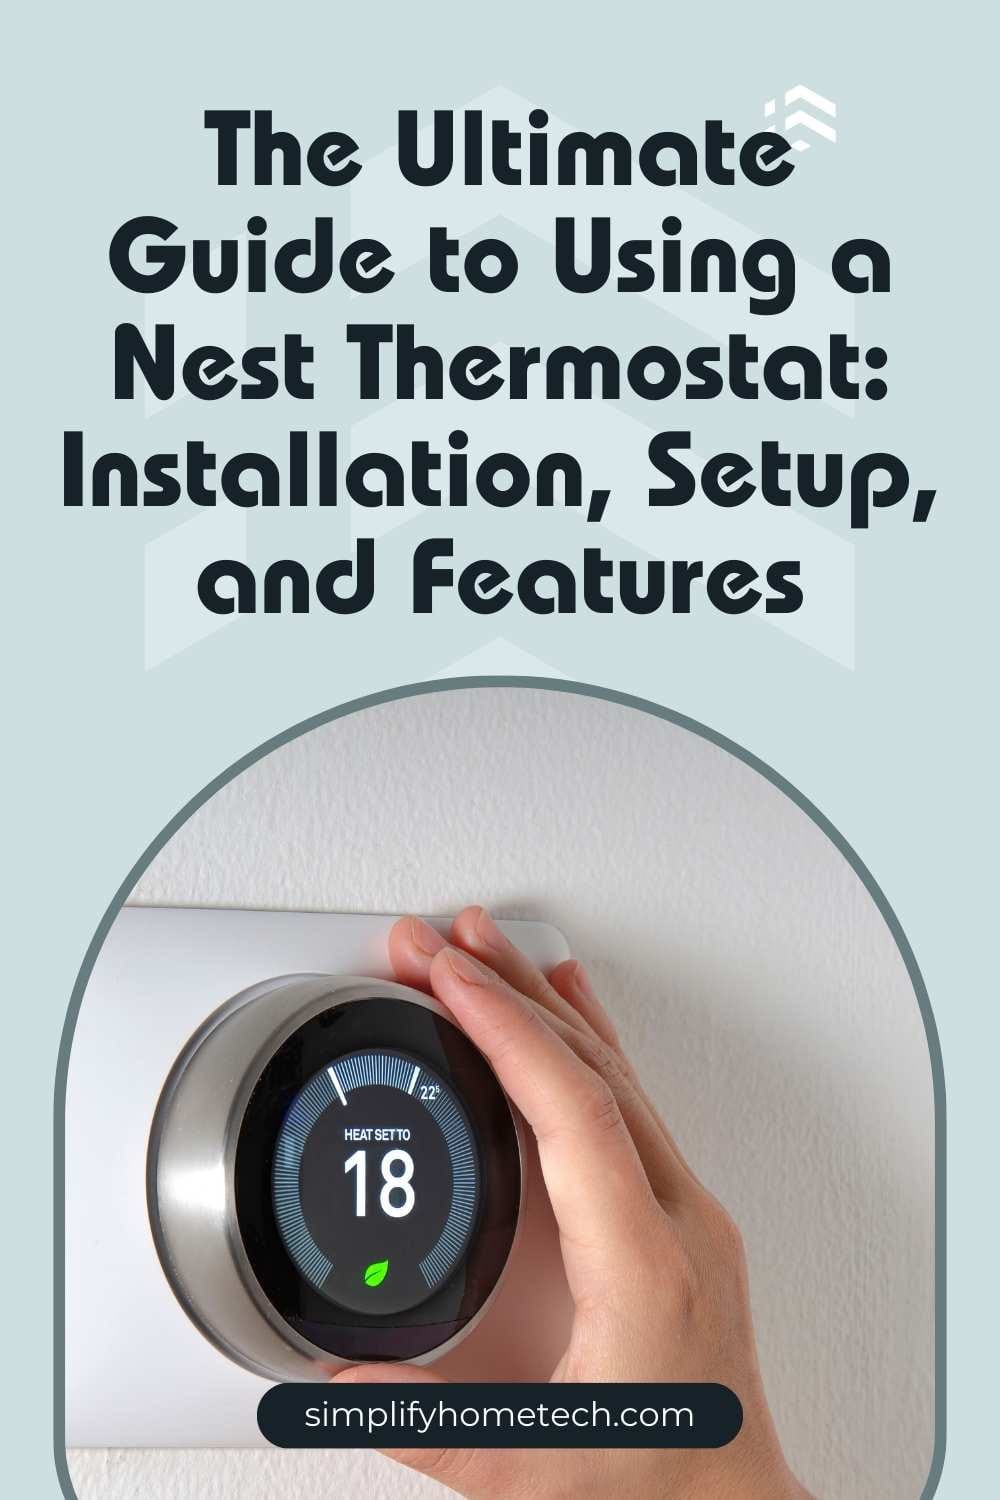
A smart thermostat can do much more than adjust your home’s temperature. It can help lower energy bills, improve comfort, and make managing your heating and cooling system far more convenient. The Nest Thermostat is one of the most popular smart thermostats available because it combines simple controls with intelligent automation and remote access through your smartphone.
Whether you’re installing a Nest Thermostat for the first time or trying to solve an issue that’s preventing it from working correctly, this guide covers everything you need to know. From preparing for installation to diagnosing common problems, you’ll find practical advice that helps you get your thermostat running smoothly while avoiding unnecessary frustration.
Why the Nest Thermostat Is a Popular Choice
The Nest Thermostat has become a favorite among homeowners because it offers a balance of convenience, energy efficiency, and smart home integration. Instead of relying solely on fixed schedules, it can adapt to your habits, making your home comfortable when you’re there while reducing unnecessary heating and cooling when you’re away.
Remote access through the Google Home app means you can change the temperature from virtually anywhere. Whether you’re returning home from work or leaving for vacation, you have full control without needing to be physically present.
Many users also appreciate the thermostat’s clean design, easy-to-read display, and compatibility with voice assistants. Combined with detailed energy reports and automated temperature adjustments, these features make it easier to save energy without sacrificing comfort.
Before Installing Your Nest Thermostat
Taking a few minutes to prepare before installation can save significant time later. While the installation process is designed to be straightforward, understanding your HVAC system beforehand helps prevent wiring mistakes and setup issues.
You’ll need a screwdriver, a smartphone with the Google Home app installed, access to your home’s Wi-Fi network, and your existing thermostat wiring. If your previous thermostat leaves visible marks on the wall, a trim plate can provide a cleaner finished appearance.
Perhaps the most important step is checking whether your heating and cooling system is compatible. Most low-voltage systems—including gas furnaces, electric furnaces, central air conditioners, heat pumps, and many dual-fuel systems—work well with the Nest Thermostat. However, certain high-voltage systems require specialized thermostats and should not be connected to a Nest device.
If you’re unsure about compatibility, identifying your existing wiring before purchasing or installing the thermostat can prevent unnecessary complications.
How to Set Up a Nest Thermostat
Turn Off Power Before You Begin
Safety should always come first. Before removing your old thermostat, switch off power to your HVAC system at the circuit breaker. Although thermostat wiring carries relatively low voltage, disconnecting power helps prevent accidental short circuits that could damage the thermostat or HVAC equipment.
Once the power is off, confirm that your heating and cooling system no longer responds before continuing.
Remove the Existing Thermostat Carefully
After removing the thermostat cover, take a clear photo of the wiring. This simple step provides an important reference if you need to verify wire placement during installation.
As you disconnect each wire, identify its terminal label rather than relying on wire color alone. Wire colors can vary between installations, while terminal labels provide the most reliable guide.
Install the Mounting Plate
Position the Nest base plate against the wall and use its built-in level to ensure it’s straight before tightening the screws.
If your previous thermostat left holes or paint marks behind, installing the optional trim plate creates a cleaner appearance without requiring wall repairs.
Connect the Wiring
Insert each wire into its matching terminal until it clicks securely into place. A properly seated wire ensures consistent communication between the thermostat and your HVAC system.
Before attaching the display, double-check that no bare copper is exposed. Loose or partially inserted wires are one of the most common causes of installation problems.
Complete the Initial Setup
Once the display is attached, restore power at the breaker. The thermostat should start automatically within a few moments.
Follow the on-screen prompts to select your language, connect to Wi-Fi, install any available software updates, and configure your heating and cooling system.
Finally, open the Google Home app and add the thermostat to your account. Assign it to the correct room so it’s easier to manage alongside your other smart devices.
Configure Your Temperature Settings for Better Energy Savings
After installation, spend a few minutes customizing your preferences rather than relying on the default settings.
Create a schedule that reflects when people are typically home, asleep, or away. Setting Eco temperatures during extended absences allows the thermostat to reduce unnecessary energy use while still protecting your home from extreme temperatures.
You can also enable Home and Away routines, which automatically adjust temperatures based on occupancy. Over time, these features help improve efficiency without requiring constant manual adjustments.
Common Nest Thermostat Problems and How to Fix Them
Even a properly installed thermostat can occasionally experience issues. Fortunately, many common problems have simple solutions once you understand what’s causing them.
Nest Thermostat Won’t Turn On
If the display remains blank after installation, the thermostat may not be receiving enough power.
Start by checking your home’s circuit breaker to confirm that power has been restored. Next, inspect each wire to ensure it’s fully inserted into the correct terminal. Even a slightly loose connection can interrupt power delivery.
Some HVAC systems don’t provide enough continuous power through the existing wiring, especially if there’s no common (C) wire. In these cases, charging the thermostat with its USB cable may temporarily restore operation, but adding a compatible power source often provides a more permanent solution.
Because power issues originate from either the electrical connection or the HVAC equipment, verifying both areas helps isolate the problem more quickly.
Nest Thermostat Won’t Connect to Wi-Fi
A stable internet connection is essential for remote control, software updates, and smart home features.
If the thermostat repeatedly disconnects from Wi-Fi, begin by restarting both your router and the thermostat. Temporary communication errors often disappear after both devices reconnect.
Weak wireless signals can also cause intermittent connectivity. Moving your router closer or reducing physical obstacles between the router and thermostat may improve signal strength.
If the issue continues, deleting and reconnecting the Wi-Fi network through the thermostat settings often resolves corrupted network information that prevents successful connections.
Heating or Cooling Isn’t Working Properly
One of the most concerning problems occurs when the thermostat powers on but your heating or cooling system doesn’t respond.
First, verify that the thermostat is set to the correct operating mode. It’s surprisingly common for the system to be set to cooling when heating is expected, or vice versa.
Next, compare the installed wiring with the photo you took before installation. A wire connected to the wrong terminal can prevent your HVAC equipment from operating correctly.
If the wiring appears correct, inspect your furnace or air conditioner for tripped safety switches, clogged air filters, or other equipment-related problems. In many cases, the thermostat is functioning normally while the HVAC system itself requires attention.
Understanding whether the issue originates from the thermostat or the heating and cooling equipment saves time and prevents unnecessary replacements.
Battery Drains Faster Than Expected
Although many Nest Thermostats recharge themselves through the HVAC wiring, inadequate power delivery can cause battery levels to decline over time.
Frequent HVAC cycling, missing common wires, or wiring issues can all reduce charging efficiency.
Monitoring the battery level through the thermostat settings can help identify whether the battery is consistently losing charge. If so, installing a compatible C-wire or approved power accessory often provides a permanent solution by supplying continuous power.
Incorrect Room Temperature Readings
If the displayed temperature doesn’t seem accurate, the thermostat’s location may be influencing its readings.
Direct sunlight, nearby heating vents, fireplaces, or drafty windows can cause temperature sensors to report conditions that don’t represent the rest of the room.
Relocating the thermostat isn’t always necessary, but ensuring it’s installed away from direct heat sources significantly improves accuracy. Restarting the device and installing the latest software updates may also resolve occasional sensor calibration issues.
Accurate temperature readings are essential because every automated heating and cooling decision depends on the thermostat sensing the room correctly.
Error Codes on the Display
Occasionally, the thermostat may display an error indicating power, wiring, or communication problems.
Rather than immediately assuming the thermostat has failed, read the error carefully and inspect the affected wiring. Many error codes are triggered by loose connections or temporary interruptions in power.
Restarting the thermostat after correcting the wiring often clears the message. If the same error returns repeatedly, the underlying issue may involve your HVAC equipment, making professional diagnosis worthwhile.
Simple Maintenance Tips to Keep Your Nest Thermostat Running Smoothly
Like any smart home device, a Nest Thermostat performs best with occasional maintenance.
Keeping the software updated ensures you receive the latest features, bug fixes, and security improvements. Regular HVAC maintenance is equally important because the thermostat depends on healthy heating and cooling equipment to perform correctly.
Replacing dirty air filters on schedule allows your system to operate efficiently while reducing unnecessary strain on the blower and compressor. It’s also worth checking the thermostat occasionally for dust buildup, especially around the sensors and display.
Small maintenance tasks performed consistently can prevent many common performance issues before they develop.
When Resetting the Thermostat Makes Sense
If troubleshooting hasn’t resolved the problem, resetting the thermostat may help eliminate incorrect settings or software glitches.
Fortunately, a factory reset isn’t always necessary. The Nest Thermostat offers several reset options, including restarting the device, clearing network settings, removing saved schedules, or performing a complete factory reset.
Using the least disruptive reset first is generally the best approach. For example, if you’re only experiencing Wi-Fi problems, resetting the network settings is often sufficient without erasing all your preferences.
A full factory reset should typically be reserved for persistent software issues, major configuration errors, or preparing the thermostat for a new owner.
When You Should Contact an HVAC Professional
While many Nest Thermostat problems can be solved at home, some situations require professional expertise.
If your HVAC system repeatedly trips breakers, wiring appears damaged, the thermostat continues reporting power errors after careful troubleshooting, or your heating and cooling equipment behaves unpredictably despite correct thermostat settings, it’s time to contact a qualified HVAC technician.
Professional diagnosis becomes especially valuable for complex multi-stage systems, heat pumps with advanced configurations, or older HVAC equipment where multiple components may contribute to the problem.
Seeking professional help early can prevent further damage and ensure your system operates safely.
Should You Replace or Upgrade Your Nest Thermostat?
Most Nest Thermostats are built to provide years of reliable service, so replacement is rarely necessary for minor software or connectivity issues.
However, upgrading may be worth considering if your thermostat is no longer compatible with a newly installed HVAC system, has suffered physical damage, or consistently experiences hardware failures that persist after troubleshooting.
Similarly, homeowners expanding their smart home ecosystem may benefit from newer models that offer additional sensors, improved automation, or enhanced compatibility with modern HVAC equipment.
If your current thermostat continues working reliably and meets your needs, there’s usually little reason to replace it simply because a newer model is available.
Final Thoughts
Installing a Nest Thermostat is one of the easiest ways to modernize your home’s heating and cooling system while improving comfort and energy efficiency. Most installations can be completed in under an hour, and many common problems can be resolved with careful wiring checks, software updates, or simple configuration changes.
When issues arise, understanding why a particular fix works is just as important as following the troubleshooting steps. A loose wire, weak Wi-Fi signal, incorrect system setting, or HVAC maintenance issue can all produce similar symptoms, but identifying the root cause leads to a faster and more reliable solution.
With proper installation, routine maintenance, and the troubleshooting techniques covered in this guide, your Nest Thermostat should provide dependable performance for years. If you’ve tried the recommended fixes and the problem persists, don’t hesitate to consult a qualified HVAC professional to ensure your heating and cooling system is operating safely and efficiently.