
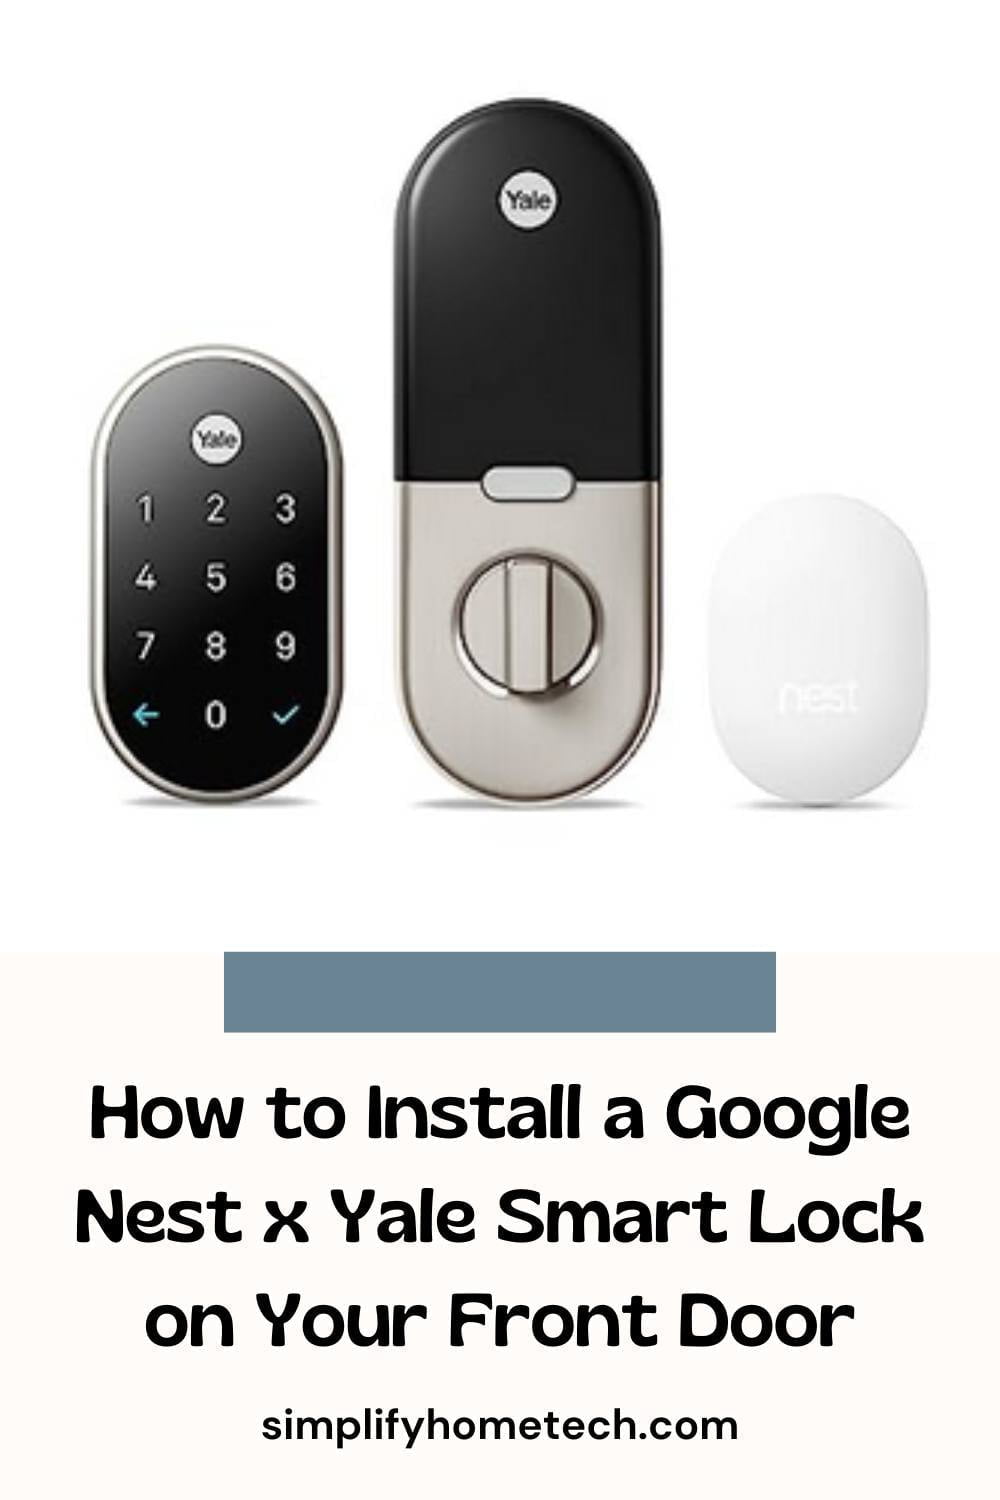
Replacing a deadbolt can sound like a job for a locksmith, but the Google Nest x Yale Lock was built with DIYers in mind. If you’re comfortable with a screwdriver, you can swap your old deadbolt for a keypad lock you control from your phone in about 30 to 45 minutes. This guide covers what to check before you buy, how the installation goes, and what to do when something doesn’t behave.
One note up front: Google has scaled back sales of this lock in some markets, so check current availability before you plan a project around it. The steps below apply to most deadbolt-replacement smart locks, so they’re still useful if you end up with a different model.
Check Whether the Lock Fits Your Front Door
Most failed smart lock installs come down to a mismatch that could have been caught in five minutes with a tape measure. Before you open the box, confirm that your door has a standard single-cylinder deadbolt, meaning a keyhole outside and a thumb-turn inside. Mortise locks and unusual multi-point systems won’t work with this lock.
Next, measure the door itself. The lock suits doors between about 1⅜ and 2 inches (35 to 51 mm) thick, with a bore hole of roughly 2⅛ inches (54 mm) in the face. The backset, which is the distance from the door’s edge to the center of that hole, should be either 2⅜ or 2¾ inches. Most North American doors already match, but doors in older homes sometimes don’t.
You’ll also need a connection plan. The lock doesn’t join your Wi-Fi on its own. It pairs with a Nest Connect or Nest Guard, which acts as a bridge between the lock and your home network. Without one of these, you can still use the keypad, but you lose remote access and notifications, which is much of the reason to buy a smart lock.
Gather a Phillips #2 screwdriver, four fresh AA batteries, your phone with the Google Home app installed, and a 9V battery for emergencies. That’s the whole toolkit.
Remove the Old Deadbolt Without Locking Yourself Out
Keep the door open for the entire installation. It sounds obvious, but it’s easy to swing a door shut mid-project, and with the old lock half-removed, getting back in can be a hassle.
Start inside by unscrewing the two screws that hold the thumb-turn assembly, then lift it away. The exterior cylinder slides out from the outside. Then take out the screws on the edge of the door that hold the latch in place and pull the latch free. Last, you can unscrew the strike plate from the frame. If it lines up well with your new bolt you can reuse it, but the plate supplied with the lock is usually the better choice because it’s matched to the bolt.
Put the old hardware in a labeled bag. If the new lock turns out not to fit, or you hit a snag late in the evening, you’ll be glad you can put the original back.
Install the Latch and Exterior Keypad
The latch comes first. Before sliding it into the door’s edge, check two things: the angled side of the bolt should face the direction the door closes, and the latch length should match your backset. Most latches adjust by twisting or sliding the end until it clicks into the 2⅜ or 2¾ inch position. Once those are right, slide it in and fasten it with the screws.
The exterior keypad is next. Feed its cable through the hole in the latch and guide the metal tailpiece through the opening so the keypad sits flat against the door. Take a step back and check that it’s level before tightening anything. A crooked keypad is a permanent reminder that you rushed this step, and it’s far easier to fix now than after everything is screwed down. Tighten gently as you go. Over-torquing the screws can pinch the cable or throw the mechanism out of alignment, which later shows up as a bolt that sticks.
Attach the Interior Assembly and Add Batteries
Inside, route the cable through the mounting plate so it lies flat and isn’t squeezed against the door. Secure the plate with the two long screws that pass through the door into the keypad, then connect the cable to the interior unit and tuck away any slack. Once the unit is snapped or screwed onto the plate, drop in four AA batteries and close the cover.
Before moving to the app, pause and test the lock by hand. With the door still open, turn the thumb-turn a few times and watch the bolt extend and retract. It should feel smooth, with no catching or grinding. Any problem in the mechanical installation will make the electronics seem faulty later, so this check saves you a lot of confusion.
Pair the Lock With the Google Home App
With the hardware in place, open the Google Home app, tap the add button, and choose to set up a new device. The app will either let you scan the QR code on the lock or the packaging, or step through a short pairing process with your Nest Connect or Nest Guard. Give the lock a clear name like “Front Door,” assign it to a room, and set a master passcode when prompted.
If the app can’t find the lock, distance is the usual cause. The bridge and lock communicate over a low-power wireless link, and thick walls, metal door frames, and large appliances can weaken it. Moving the bridge closer to the door, or at least into the same room line of sight, often fixes the problem. Rebooting the bridge can also help, because it clears out a stuck connection and lets it rediscover nearby devices cleanly.
Calibrate the Bolt and Test Everything
Calibration is where the lock learns how your particular door behaves. Following the app’s prompts, the motor will drive the bolt out and back so it can measure the travel and detect the door’s alignment. Calibration works best with the door open and the latch free to move, since any resistance can be mistaken for the bolt’s end position.
Afterward, test the whole sequence the way you’ll actually use it. Close the door and lock it from the keypad, then step outside and unlock it from the app. Do this a few times with the door closed and a few more with it open. If the bolt struggles to reach its full throw when the door is shut, the likely culprit is the strike plate. If the bolt hits the edge of the hole rather than entering cleanly, the door has shifted slightly in the frame, which happens seasonally with humidity. Widening the strike opening a little with a file, or adjusting the plate’s position, gives the bolt the clearance it needs without forcing the motor.
Set Up Passcodes for Family, Guests, and Service Visits
Once the lock works, you can start using the features that make it worth the effort. The system supports up to 20 passcodes, and the real advantage is that each one can be tied to a person. Family members can have permanent codes, while a cleaner or dog walker can have a code that only works on certain days and hours. Guests can get temporary codes that expire on their own, so you never have to remember to revoke them.
Since every code is distinct, the app’s history shows who unlocked the door and when. That is useful for knowing the kids got home, and it makes access management simpler too. When a contractor finishes a job, you delete one code instead of rekeying the whole house.
What Happens When the Batteries Die?
This lock has no keyhole, so battery planning matters. The app sends a low-battery warning well before the lock stops working, so change the batteries when you see it rather than waiting. Alkaline AAs are the safest choice, because some rechargeable cells report their charge level in ways the lock can’t read accurately, which can mean a sudden shutoff with no warning.
If the batteries do run out completely, you can press a 9V battery against the contacts on the bottom of the keypad. This supplies enough power to wake the keypad so you can enter your code and open the door. It’s a good idea to store a 9V battery somewhere accessible but not right outside the front door, such as in a garage or with a trusted neighbor. A second plan is worth having too, like a neighbor who knows a spare code.
Troubleshooting Common Problems
Even a clean installation can act up, and most issues have simple explanations. If the bolt doesn’t fully extend, the problem is nearly always alignment between the bolt and the strike plate. Doors expand and settle, so a plate that fit perfectly in summer can bind in winter. Adjusting the plate lets the bolt slide in freely and takes strain off the motor.
When the lock keeps dropping its connection to the app, treat it as a signal problem before blaming the lock. Moving the bridge closer or away from sources of interference, such as a router crowded with other devices, gives the signal a cleaner path. If the bridge itself has been running a long time, a restart refreshes its connection table.
An unresponsive keypad usually points to weak batteries or a loose cable. Fresh batteries rule out the most common cause, since low voltage can leave the keypad lit but unable to power the motor. If the problem persists, reopen the interior unit and check that the cable is fully seated, because a connector that has been nudged out by a tucked wire will cut communication between the two halves of the lock.
If calibration fails, the cause is almost always something physically hindering the bolt. Open the door, make sure the latch isn’t pressing against the frame, loosen any screws that are too tight, and try again. Tightening too much can slightly twist the assembly and add just enough friction to confuse the sensor.
When It Makes Sense to Replace or Upgrade
A smart lock isn’t a permanent fixture, and it’s reasonable to consider a change in a few situations. If you can’t find the Nest x Yale Lock or its bridge, or if you’d rather not depend on a product that has been phased out in some regions, a current model from another maker could serve you better. Households that prefer a physical key as a backup might also be happier with a lock that keeps a keyhole, such as certain Yale Assure, Schlage, or Kwikset models.
Newer smart home standards are another reason to look around. If you want a lock that works with Matter or Thread, or one that integrates with Apple Home or Alexa without workarounds, check compatibility before buying. On the other hand, if your current lock works reliably and you’re comfortable with the 9V backup and bridge setup, there’s no pressing need to switch. A lock that does its job quietly is worth keeping.
Final Thoughts
Installing a Nest x Yale Lock mostly comes down to patience and alignment. Measure your door first, take your time with the latch and keypad, and test the lock by hand before relying on it. Most problems after that trace back to the same few causes: a misaligned strike plate, weak batteries, or a poor signal to the bridge. All three are straightforward to fix once you know why they happen.
If your lock is acting up, start with the simplest fixes. Swap in fresh batteries, check the strike plate, and move the bridge closer. You’ll likely have it running smoothly again within minutes.