
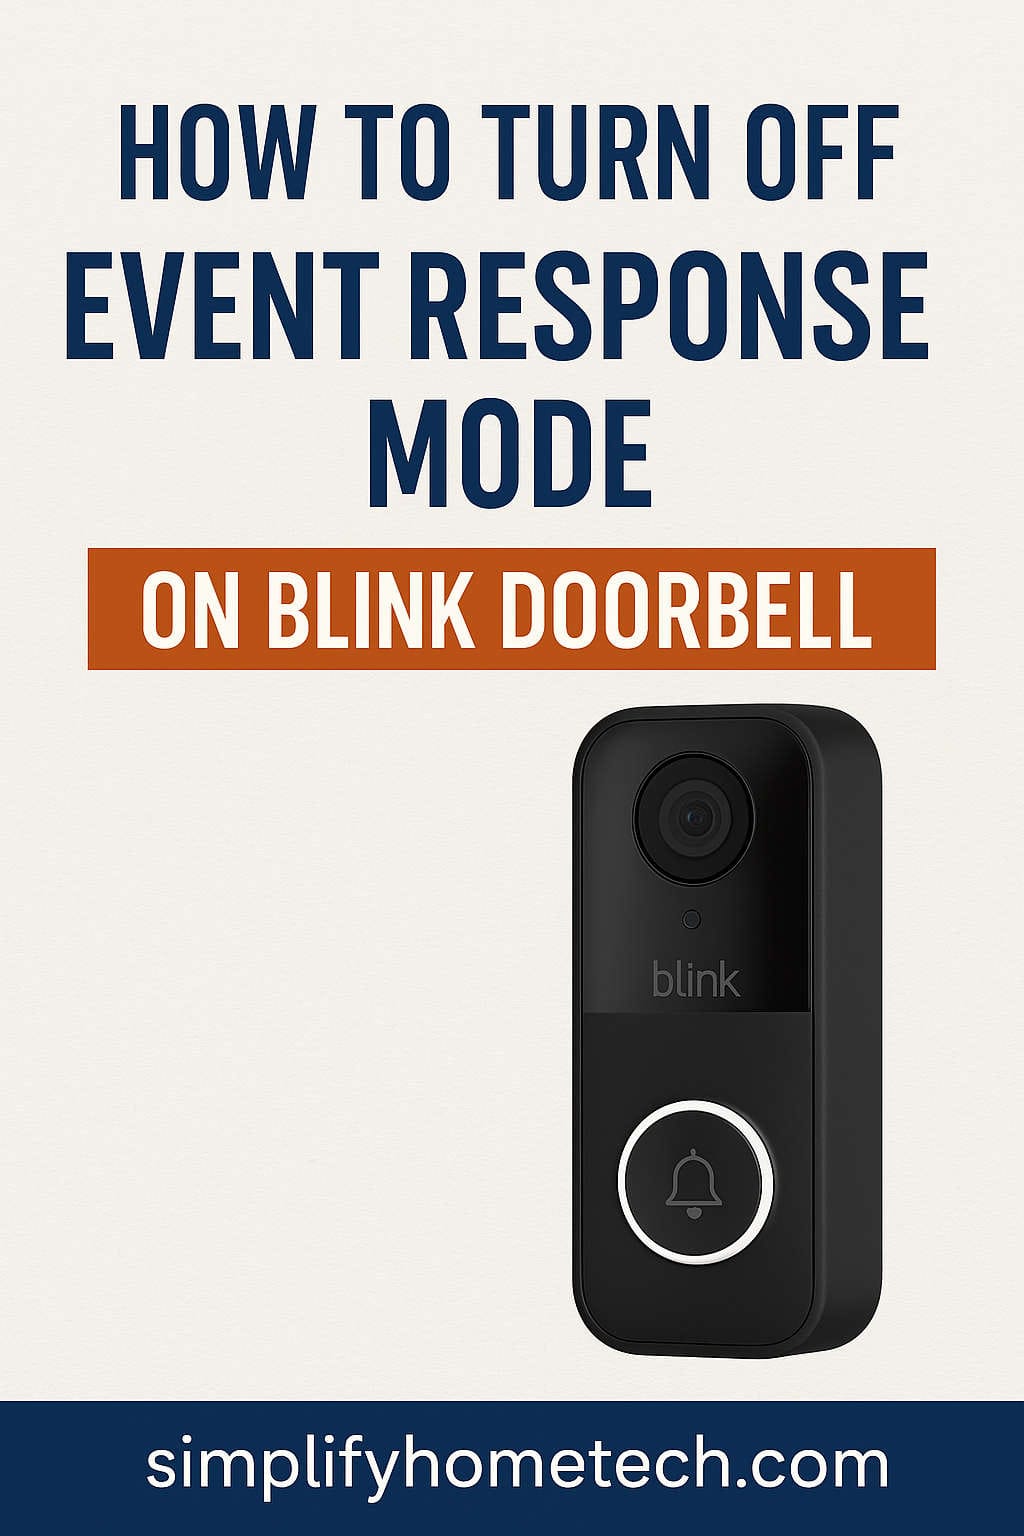
If you’re using a Blink Video Doorbell and noticing that it’s behaving a bit differently than expected—such as limited live view or delays in receiving updates—you might be in what’s known as Event Response Mode. While this mode can help extend battery life, it limits key features. The good news is that with a few simple adjustments, you can disable this mode and unlock the full functionality of your doorbell.
In this comprehensive guide, we’ll explore everything you need to know about Event Response Mode: what it is, why it exists, how it affects your Blink doorbell, and most importantly, how to turn it off. Whether you’re a new user or someone who’s had the device for a while, this guide is tailored to help you take full control of your Blink setup.
What Is Event Response Mode?
Event Response Mode is a specific operating mode designed for the Blink Video Doorbell when it is running solely on battery power without any additional power source or Sync Module connection. In simple terms, it’s a power-saving feature.
When the Blink doorbell is in this mode:
- Live View is only available right after motion is detected or the doorbell is pressed.
- Two-way audio is also restricted to this short window.
- Settings may take up to 24 hours to update unless triggered manually.
- Features like schedules, privacy zones, and on-demand Live View are not available.
While this mode is great for conserving battery, it can become frustrating if you’re expecting instant access to your doorbell at any time.
Why Does Event Response Mode Exist?
The Blink Video Doorbell is designed with low power consumption in mind. Many people prefer to avoid wiring and simply use the device with batteries. To accommodate this setup while preserving battery life (which Blink claims can last up to two years), Event Response Mode kicks in.
This design ensures:
- Minimum drain on battery power.
- Longer intervals between battery replacements.
- Simple, maintenance-free installation for users not comfortable with wiring.
But there’s a tradeoff: less functionality. For many users, the benefits of turning off Event Response Mode outweigh the battery savings.
Limitations of Event Response Mode
To help you decide whether to disable it, here are some specific limitations that come with Event Response Mode:
1. No On-Demand Live View
You can only access live footage if there has been a recent motion or someone pressed the doorbell.
2. Settings Don’t Apply Instantly
Changes to the doorbell settings (like motion sensitivity or clip length) won’t take effect until the next interaction or a full 24-hour cycle.
3. Restricted Two-Way Audio
Two-way conversations are limited to that brief window after an event occurs.
4. Limited Smart Home Integration
Devices like Alexa can’t pull up live feeds on-demand if the doorbell is in Event Response Mode.
5. No Privacy Zones or Schedules
You lose out on privacy-focused features like setting up motion-free zones or customizing when your camera should be active.
How to Turn Off Event Response Mode on Blink Doorbell
Turning off Event Response Mode isn’t as simple as flipping a switch in the app. Instead, it requires one of two key changes:
Option 1: Hardwire the Doorbell to a Power Source
By wiring the Blink Video Doorbell to an existing doorbell system or an AC transformer, it will automatically exit Event Response Mode.
What You Need:
- A compatible mechanical or digital chime.
- A 16-24V AC Transformer that supplies 16 to 24 volts AC.
- Doorbell wiring already installed (or a willingness to install it).
Step-by-Step Guide to Wiring Your Doorbell:
- Turn Off Power: Before touching anything electrical, turn off the power at the circuit breaker.
- Remove Existing Doorbell: Take off your old doorbell button and disconnect the wires.
- Attach Blink Doorbell: Connect the wires to the back of your Blink Video Doorbell. It should be clearly labeled.
- Mount the Doorbell: Use the included mounting plate and screws to fix the device to the wall.
- Restore Power: Turn the power back on at the breaker.
- Check Functionality in the App: Open the Blink app. If your doorbell is now wired correctly, Event Response Mode will be automatically disabled. You should be able to access Live View and two-way audio instantly.
Tips:
- Ensure the transformer voltage is within the recommended range. Too low, and the doorbell may stay in Event Response Mode.
- If using a digital chime, make sure it’s compatible.
Option 2: Connect Your Doorbell to a Sync Module
If wiring isn’t practical, you can simply add a Blink Sync Module to your system. This small device acts as a hub for your Blink devices, and once your doorbell is connected to it, Event Response Mode is turned off automatically.
Benefits of Using a Sync Module:
- Enables on-demand Live View.
- Speeds up communication between the app and the doorbell.
- Allows settings to apply instantly.
- Lets you use local storage (with Sync Module 2).
Steps to Add a Sync Module:
- Plug in the Sync Module: Connect it to power and wait for the light to blink.
- Open the Blink App: Tap the “+” icon to add a new device.
- Scan QR Code: Scan the code on the Sync Module.
- Connect to Wi-Fi: Follow the prompts to connect it to your Wi-Fi network.
- Add Doorbell to Sync Module: Go to your doorbell’s settings in the app and link it to the Sync Module.
Once linked, your doorbell will exit Event Response Mode. You’ll notice a big difference in responsiveness and feature availability.
What Happens After Disabling Event Response Mode?
Once Event Response Mode is off, your doorbell behaves more like a full-featured smart security device. Here’s what changes:
- Live View becomes available anytime.
- Settings update immediately.
- Two-way talk can be initiated on demand.
- You gain access to privacy zones, motion scheduling, and more.
- Smart home integration becomes more reliable.
Whether you go the wired route or use a Sync Module, the user experience becomes much smoother and more flexible.
Should You Disable Event Response Mode?
It depends on your needs. Here are a few scenarios to help you decide:
Best to Keep It If:
- You prefer long battery life over full features.
- You rarely use Live View or two-way audio.
- Your Blink doorbell is part of a minimal setup.
Best to Disable It If:
- You want real-time access to your camera feed.
- You rely on smart home features and automation.
- You want faster updates and full customization.
Common Questions & Troubleshooting
1. My doorbell is wired, but it’s still in Event Response Mode. Why?
Check the transformer voltage. If it’s under 16V AC, the Blink system might not recognize it as a valid power source. Also, verify wiring connections and ensure your chime is functioning.
2. How do I know if I’m in Event Response Mode?
In the Blink app, look for messages like “Settings will apply in 24 hours” or limitations in using Live View. If your camera only responds after motion or a button press, you’re in Event Response Mode.
3. Can I use both wiring and a Sync Module?
Absolutely. In fact, this is the most robust setup. Wiring supplies consistent power, and the Sync Module improves communication and enables local storage.
4. Do I still need batteries if the doorbell is wired or connected to a Sync Module?
Yes. Even when powered, the Blink doorbell uses batteries as a backup. These help the device stay online during power fluctuations and improve long-term reliability.
Advanced Tips for Optimizing Your Blink Doorbell
Use Local Storage with Sync Module 2
Want to save videos without a subscription? Plug a USB drive into Sync Module 2. This allows you to store motion clips locally.
Smart Integration with Alexa
Once Event Response Mode is off, you can ask Alexa to show your front door on an Echo Show or Fire TV. This adds hands-free convenience to your smart home.
Create Custom Motion Zones
After disabling Event Response, go into the app and define areas for motion detection. This reduces false alerts from traffic or neighbors.
Set Motion Schedules
Customize when your doorbell detects motion. Maybe you want alerts only during the night, or while you’re at work.
Battery Tips
Use only recommended lithium AA batteries. Avoid mixing brands or types. Replace batteries when Live View performance begins to lag.
Summary: Event Response Mode at a Glance
| Feature | Event Response ON | Event Response OFF |
|---|---|---|
| On-Demand Live View | No | Yes |
| Instant Two-Way Audio | No | Yes |
| Motion Schedules | No | Yes |
| Smart Integration (Alexa) | Limited | Full |
| Battery Life | Extended | Moderate |
| Local Storage | No | Yes (with Sync) |
Final Thoughts
Event Response Mode is a thoughtful feature for those who want to maximize battery life with minimal maintenance. However, for users looking to unlock the full capabilities of the Blink Video Doorbell—like Live View, smart home integration, and advanced customization—disabling this mode makes a noticeable difference.
Whether you choose to wire your doorbell or connect it to a Sync Module, the process is simple and offers immediate improvements. Now that you understand how to disable Event Response Mode and what benefits come with it, you can make the best choice for your home setup.
With a few simple adjustments, your Blink Video Doorbell can become a more powerful, responsive, and smart part of your home security system.