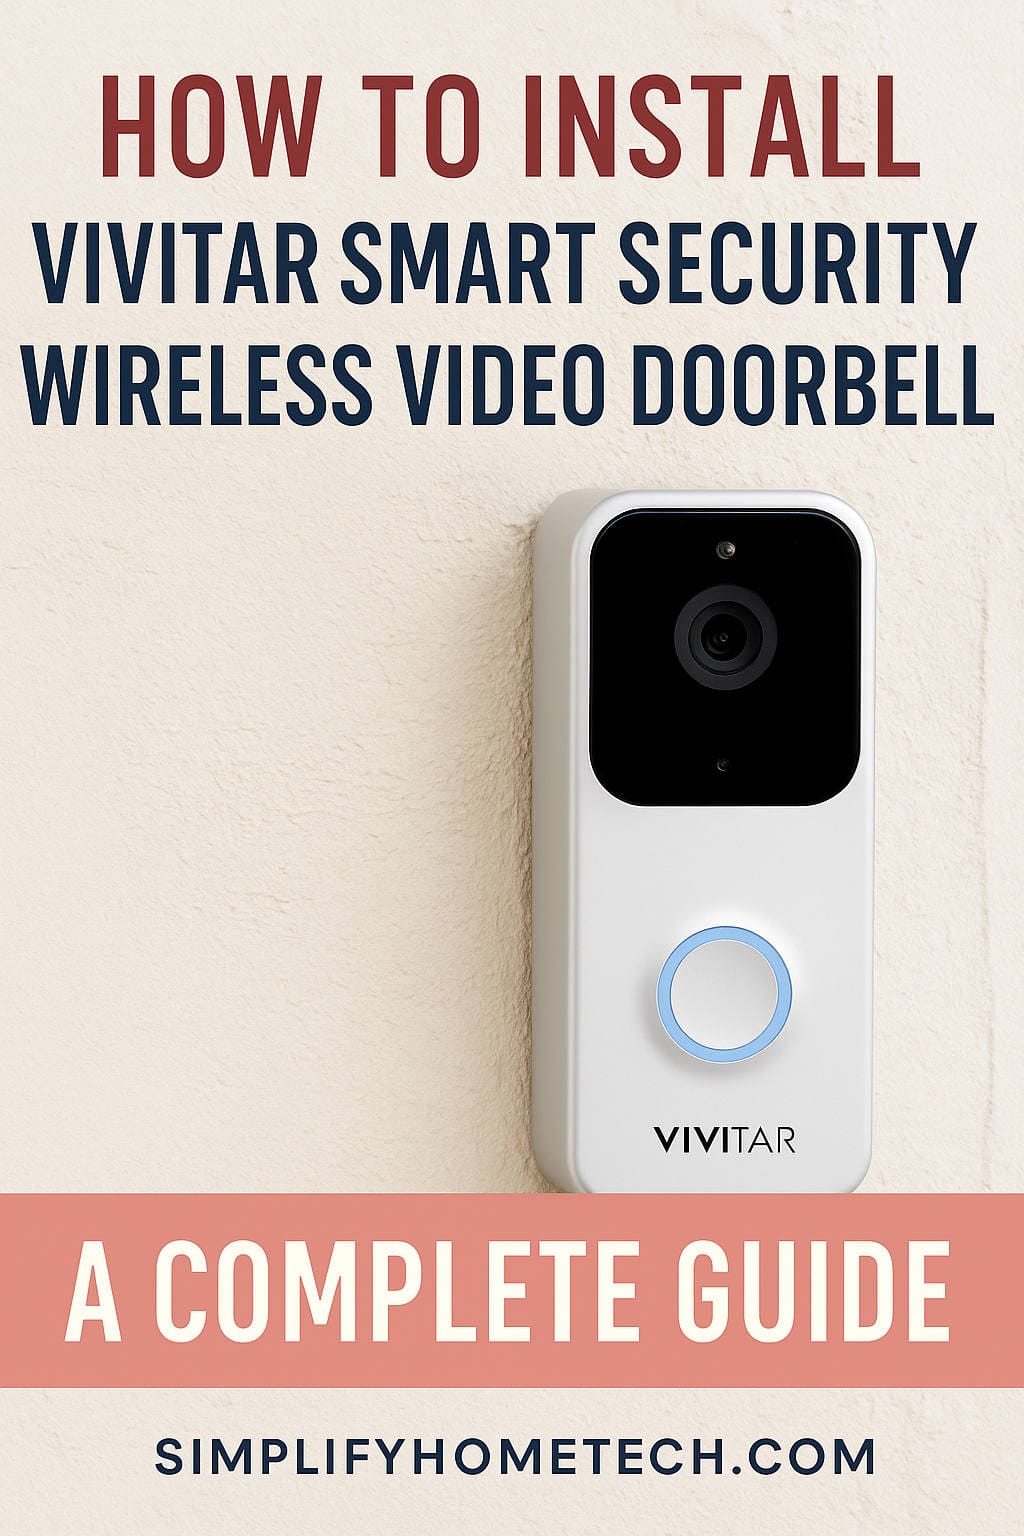
In today’s era of smart homes, having a video doorbell is no longer a luxury but a necessity. The Vivitar Smart Security Wireless Video Doorbell is one of the best options available, offering a perfect balance of functionality, ease of use, and affordability. Whether you want to monitor your front door, receive package delivery alerts, or have two-way communication with visitors, this smart doorbell can meet your needs. In this comprehensive guide, we’ll walk you through every step of the installation process, ensuring you get your Vivitar Smart Security Wireless Video Doorbell up and running smoothly.
Why Choose Vivitar Smart Security Wireless Video Doorbell?
Before diving into the installation process, let’s briefly review why the Vivitar Smart Security Wireless Video Doorbell is worth your consideration:
- High-Definition Video: Crisp and clear video quality.
- Two-Way Audio: Speak to visitors directly from your smartphone.
- Motion Detection: Receive instant alerts on suspicious activities.
- Night Vision: Clear video even in low-light conditions.
- Wireless Installation: No complicated wiring needed.
- App Integration: Easily connect and control via the Vivitar Smart Home Security App.
- Affordable: Competitive pricing compared to other leading brands.
What You’ll Need Before You Begin
Before starting the installation, gather the following tools and materials:
- Vivitar Smart Security Wireless Video Doorbell (with included accessories)
- Wi-Fi Network (2.4 GHz)
- Smartphone or tablet (for app setup)
- A fully charged battery (if applicable)
- Screwdriver (usually included in the package)
- Drill (optional, depending on mounting surface)
- Mounting bracket and screws (included)
Step-by-Step Installation Guide
Step 1: Unboxing and Initial Inspection
Carefully open the Vivitar doorbell package and inspect the contents. Typically, the package includes:
- The wireless video doorbell unit
- Mounting bracket
- Screws and anchors
- Charging cable (if applicable)
- User manual
- Screwdriver
Ensure that all parts are present and undamaged. If any items are missing, contact Vivitar customer support before proceeding.
Step 2: Charge the Doorbell (If Applicable)
Many wireless video doorbells, including certain Vivitar models, come with rechargeable batteries. Before installation, fully charge the device using the provided USB cable. A fully charged unit ensures uninterrupted setup and operation.
Typically, a full charge can take a few hours. Indicators such as LED lights or app notifications may confirm the charging status.
Step 3: Download the Vivitar Smart Home Security App
To control and monitor your video doorbell, download the Vivitar Smart Home Security App:
- For iOS devices: Visit the Apple App Store.
- For Android devices: Visit the Google Play Store.
Search for “Vivitar Smart Home Security” and install the app. Once installed, create a new account or log in if you already have one.
Step 4: Connect to Your Wi-Fi Network
Before mounting the doorbell, it’s essential to pair it with your home Wi-Fi network:
- Open the Vivitar Smart Home Security App.
- Select “Add Device.”
- Choose the Video Doorbell option.
- Follow the on-screen instructions to connect to your 2.4 GHz Wi-Fi network. Ensure your phone is on the same network for seamless setup.
During this process, you may need to scan a QR code displayed on your phone using the doorbell’s camera to complete pairing.
Step 5: Test the Video Doorbell
Before permanently mounting the doorbell, conduct a test to ensure everything works as expected:
- Verify video feed quality.
- Test two-way audio.
- Check motion detection and notification settings.
- Test live streaming from the app.
If everything functions correctly, proceed to physical installation.
Step 6: Choose the Installation Location
Select a location near your main entrance, ideally at chest level (around 48 inches above the ground). Consider the following factors:
- Clear view of the approach path.
- Protection from direct sunlight or heavy rain.
- Proximity to your Wi-Fi router for strong signal strength.
Use your smartphone to check Wi-Fi signal strength at the desired mounting spot.
Step 7: Mark and Drill Mounting Holes
- Use the mounting bracket as a template to mark the screw holes on the wall or doorframe.
- If mounting on wood or soft surfaces, you can often use screws directly.
- For brick, stucco, or concrete surfaces, drill pilot holes and insert wall anchors (included).
- Double-check the bracket alignment before proceeding.
Step 8: Mount the Bracket and Attach the Doorbell
- Secure the mounting bracket using the provided screws.
- Align the doorbell with the bracket and slide or snap it into place as instructed.
- Ensure the doorbell is firmly attached and secure.
Step 9: Final Testing and Configuration
Once mounted, perform a final round of testing:
- Ensure the camera captures the desired field of view.
- Confirm strong Wi-Fi signal and stable video feed.
- Test motion detection by walking in front of the camera.
- Test night vision by simulating low-light conditions.
- Adjust motion sensitivity and notification preferences in the app as needed.
Step 10: Secure Your Device
For added security, consider enabling the following features:
- Device Password Protection: Prevent unauthorized access.
- Firmware Updates: Regularly check for software updates via the app.
- Cloud Storage or SD Card: Set up video storage options if supported.
Troubleshooting Common Issues
Even with a straightforward installation process, you may encounter occasional issues. Here are solutions to some common problems:
1. Wi-Fi Connection Failure
- Ensure your router broadcasts a 2.4 GHz signal.
- Move the router closer to the installation location or use a Wi-Fi extender.
- Restart your router and doorbell.
- Verify correct Wi-Fi password entry.
2. Video Feed Lag or Poor Quality
- Check for Wi-Fi interference.
- Reduce the number of connected devices on your network.
- Upgrade to a higher-speed internet plan if needed.
3. Motion Detection False Alarms
- Adjust the sensitivity settings in the app.
- Use activity zones if supported.
- Avoid pointing the camera directly at moving trees, streets, or reflective surfaces.
4. App Pairing Issues
- Ensure the doorbell battery is fully charged.
- Reinstall the app and retry pairing.
- Reset the doorbell to factory settings if needed.
Maintenance Tips for Long-Term Performance
To ensure your Vivitar Smart Security Wireless Video Doorbell functions optimally:
- Clean the camera lens periodically.
- Recharge or replace the battery as needed.
- Keep the firmware updated.
- Check Wi-Fi strength periodically.
- Inspect mounting hardware for stability.
Safety Precautions
- Avoid installing near electrical wiring without proper knowledge.
- Use a sturdy ladder or step stool during installation.
- Secure tools and hardware properly.
- Follow local guidelines for outdoor installations.
Advantages of Wireless Installation
The Vivitar Smart Security Wireless Video Doorbell offers the following wireless advantages:
- No complex wiring or professional installation needed.
- Flexible placement options.
- Easy relocation if you move to a new home.
- Minimal disruption to existing structures.
Enhancing Your Home Security Ecosystem
Consider integrating your Vivitar Video Doorbell with other smart home devices for comprehensive security:
- Smart locks: Unlock the door remotely after verifying visitors.
- Indoor security cameras: Monitor additional areas of your home.
- Smart lighting: Illuminate entryways when motion is detected.
- Voice assistants: Control devices via Amazon Alexa or Google Assistant.
Frequently Asked Questions (FAQs)
Q: How long does the battery last on the Vivitar Smart Security Wireless Video Doorbell?
A: Battery life varies depending on usage, motion detection frequency, and video recording duration. On average, a fully charged battery may last several weeks to a few months.
Q: Can I use the doorbell with multiple smartphones?
A: Yes. Multiple users can download the Vivitar Smart Home Security App and log in using the same account credentials.
Q: Is cloud storage mandatory?
A: No. While cloud storage offers convenience for accessing recorded footage remotely, many models also support local storage via microSD cards.
Q: What happens if my Wi-Fi goes down?
A: Live streaming and remote access will be unavailable during Wi-Fi outages. However, some models may continue recording locally if a microSD card is installed.
Q: Can I install it myself?
A: Absolutely. The Vivitar Smart Security Wireless Video Doorbell is designed for easy DIY installation.
Conclusion
Installing the Vivitar Smart Security Wireless Video Doorbell is a straightforward process that enhances your home security, offers peace of mind, and adds modern convenience to your daily life. With its simple wireless setup, intuitive mobile app, and reliable performance, it’s an excellent choice for homeowners, renters, and even businesses looking for affordable security solutions.
By following this comprehensive step-by-step guide, you can confidently install your Vivitar doorbell and enjoy the benefits of real-time video monitoring, motion alerts, and two-way communication right from your smartphone. Should you encounter any issues, refer back to the troubleshooting section or reach out to Vivitar’s customer support for additional assistance.
Stay safe, stay secure, and enjoy your new smart video doorbell!
You might also like,