Are you tired of paying monthly or yearly fees for cloud storage for your video doorbell? Do you want to save money and hassle while still being able to access and download your recorded videos anytime? If so, you might want to check out the RemoBell S video doorbell, a budget-friendly device that offers free cloud storage for three days. In this article, we will show you how to set up and use your RemoBell S video doorbell, and how to access and manage your free cloud storage. Whether you want to enhance your home security, convenience, or fun, the RemoBell S video doorbell can help you achieve your goals.
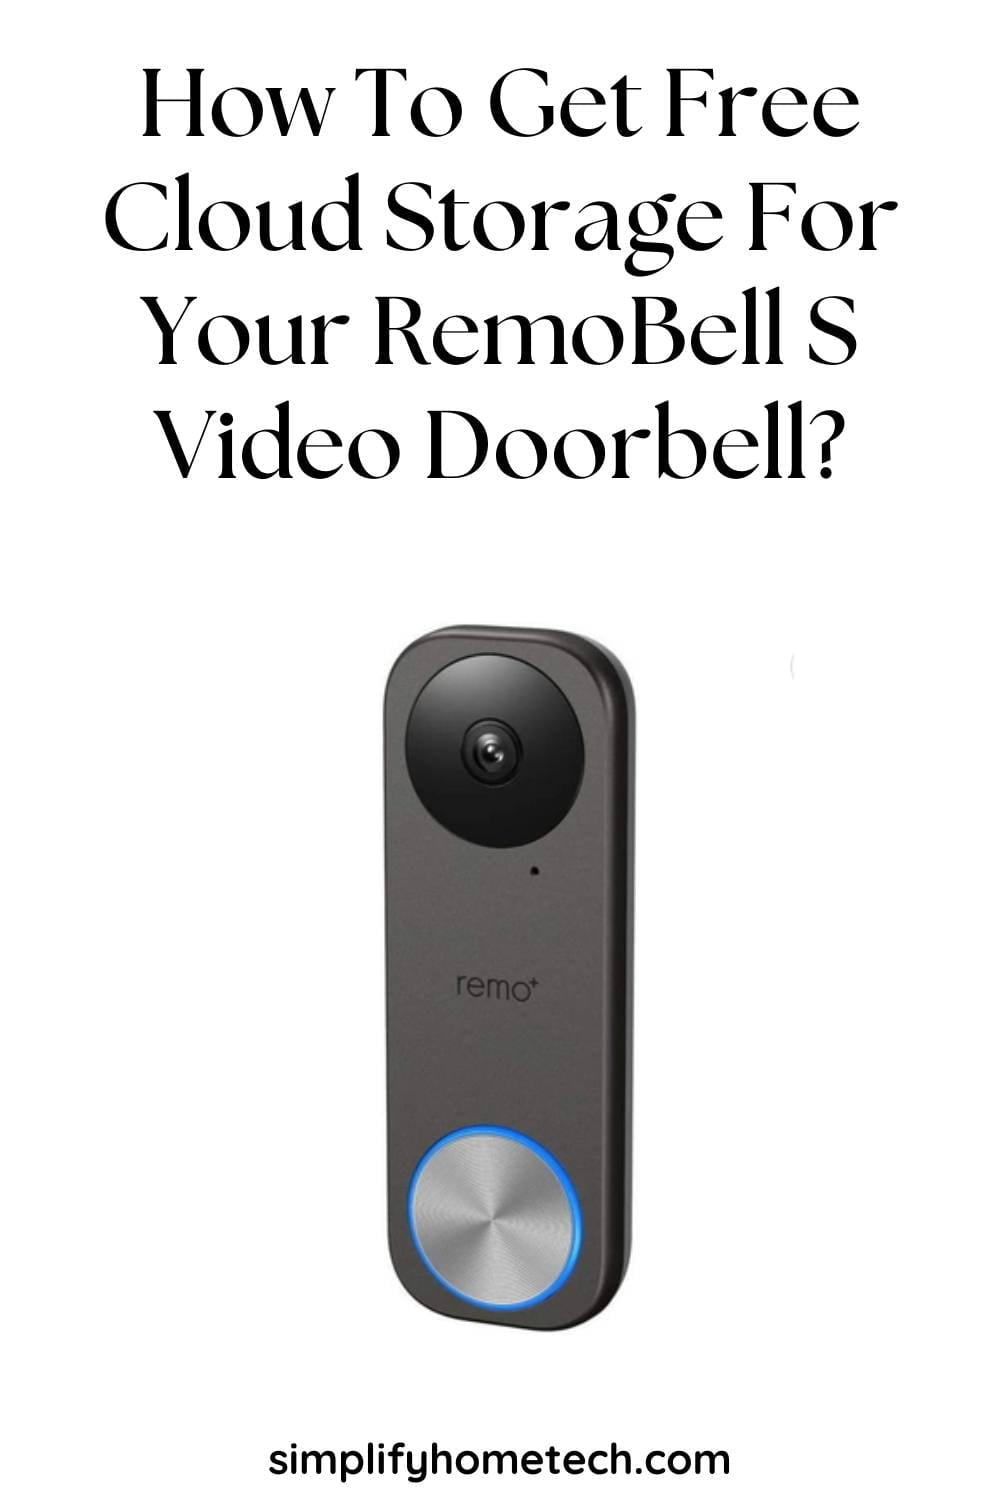
RemoBell S video doorbell has a sleek design, a 180-degree field of view, two-way audio, night vision, and motion detection. The best part is that it gives you three days of rolling cloud storage for free, without any subscription fees. But before you can access free cloud storage, you need to install the RemoBell S video doorbell first. Let’s check out how to install the RemoBell S video doorbell.
What you need before installation?
Before you install your RemoBell S video doorbell, you need to make sure that it is compatible with your existing doorbell system and that you have everything you need for installation.
Here are some things to check:
- Compatibility: Your doorbell system needs to have a transformer with a voltage between 16V AC and 24V AC, and a mechanical or digital chime. You can use the compatibility checker tool on Remo+’s website to see if your system meets the requirements. If you don’t have a compatible system, you can either hire an electrician to install one, or use an AC power adapter to plug your doorbell into an outlet.
- Tools: You will need a drill, a Phillips screwdriver, a wire stripper, a pencil, and a level. You will also need a smartphone or tablet with the Remo+ app installed.
- Wi-Fi: You will need a Wi-Fi network with a 2.4 GHz band and a strong signal near your door. You can use the Remo+ app to test your Wi-Fi strength before installation.
How to install your RemoBell S Video Doorbell?
Once you have everything ready, you can follow these steps to install your RemoBell S video doorbell:
- Turn off the power to your doorbell system at the breaker box.
- Remove your old doorbell button and disconnect the wires. Make sure the wires don’t fall back into the wall.
- Attach the mounting plate of your RemoBell S to the wall using the screws and anchors provided. Use the level to make sure it is straight.
- Connect the wires to the terminals on the mounting plate. It doesn’t matter which wire goes where, as long as they are securely attached.
- Snap your RemoBell S onto the mounting plate and make sure it clicks into place.
- Turn on the power to your doorbell system and wait for your RemoBell S to light up and ring your chime.
- Open the Remo+ app on your smartphone or tablet and follow the instructions to add your RemoBell S to your home network and account.
How to use free cloud storage on your RemoBell S video doorbell?
One of the best features of your RemoBell S video doorbell is that it gives you three days of rolling cloud storage for free, without any subscription fees. This means that you can access and download any recorded videos from the past three days at any time.
To use this feature, follow these steps:
- Open the Remo+ app on your smartphone or tablet and tap on your RemoBell S.
- Tap on Recent Activity to see a list of recorded events by date and time.
- Tap on an event to watch the recorded video on full screen. You can also use the playback controls to pause, rewind, fast-forward, or mute the video.
- Tap on Download to save the video to your device’s gallery or share it with others via email or social media.
- Tap on Delete to remove the video from the cloud storage.
You can also manage your cloud storage settings by following these steps:
- Open the Remo+ app on your smartphone or tablet and tap on Settings > Cloud Plan.
- Tap on Manage Storage > Free Plan > Edit Settings.
- Choose whether you want your RemoBell S to record only when motion is detected or when someone rings the bell, or both.
- Choose whether you want to receive push notifications when an event is recorded.
- Tap on Save.
Frequently Asked Questions (FAQs)
Q: What is the RemoBell S video doorbell?
A: The RemoBell S video doorbell is a budget-friendly device that offers a sleek design, a 180-degree field of view, two-way audio, night vision, and motion detection. It also gives you free cloud storage for three days without any subscription fees.
Q: What are the benefits of free cloud storage on the RemoBell S video doorbell?
A: Free cloud storage on the RemoBell S video doorbell can save you money and hassle. You don’t have to pay any subscription fees or worry about running out of storage space. You can also watch and share your recorded videos anytime you want.
Q: What are the drawbacks of free cloud storage on the RemoBell S video doorbell?
A: Free cloud storage on the RemoBell S video doorbell has some limitations. You can only store videos for three days, after which they are automatically deleted. You also can’t download videos in bulk or filter them by date or event type.
Q: How do I reset the RemoBell S video doorbell?
A: You can reset the RemoBell S video doorbell by pressing and holding the reset button on the back of the device for 10 seconds until the LED ring flashes red. This will erase all your settings and data and restore the device to factory defaults.
Q: How do I update the firmware of the RemoBell S video doorbell?
A: You can update the firmware of the RemoBell S video doorbell by opening the Remo+ app and tapping on Settings > Device Info > Firmware Update. If there is a new firmware version available, you can tap on Update to download and install it. Make sure your device is connected to Wi-Fi and has enough battery power before updating.
Q: How do I share access to the RemoBell S video doorbell with other users?
A: You can share access to the RemoBell S video doorbell with other users by opening the Remo+ app and tapping on Settings > Shared Users > Add User. You can enter the email address of the user you want to share with and choose whether to give them admin or guest privileges. Admin users can access and manage all the settings and features of the device, while guest users can only view live and recorded videos.
Conclusion
The RemoBell S is a budget-friendly video doorbell that offers free cloud storage for three days without any subscription fees. It is easy to install and set up with the Remo+ app, and it delivers sharp HD video, two-way audio, night vision, and motion detection. If you want a video doorbell that can save you money and hassle, you should consider getting the RemoBell S.
You might also like,
Secure Your Home with Vivitar Smart Security Wireless Video Doorbell