When it comes to protecting your home and ensuring peace of mind, few things are more essential than a reliable lock. While traditional deadbolts have long been trusted guardians of our doors, electronic deadbolts are now taking home security to the next level. Among the top contenders in this space is the EZSET electronic deadbolt—a popular choice for homeowners, landlords, and Airbnb hosts alike.
Whether you’ve just installed one of these locks or are still considering your options, this guide will walk you through everything you need to know about programming and using your EZSET electronic deadbolt. We’ll cover everything from setup to troubleshooting in a practical, easy-to-understand manner. No fluff, just solid, actionable advice.
What Makes the EZSET Electronic Deadbolt Special?
EZSET locks are known for their balance of security, convenience, and affordability. Unlike smart locks that require apps or Wi-Fi, EZSET offers keyless entry through a physical keypad. That means no lost keys and no need to hand out spares. These locks typically allow multiple user codes, feature auto-lock functions, and are easy to install with just a screwdriver.
The beauty of an EZSET electronic deadbolt is that you can control who has access to your home, when, and for how long—all without calling a locksmith.
Getting Started: Tools and Preparation
Before you can program your lock, you’ll need to install it. Here’s what you’ll typically need:
- Phillips screwdriver
- Four AA alkaline batteries
- A few minutes of your time
The EZSET deadbolt usually comes with:
- Exterior keypad unit
- Interior battery housing with thumb-turn knob
- Deadbolt latch
- Mounting screws and hardware
Installation takes around 15-20 minutes and can be completed by anyone comfortable with basic DIY tasks. Once it’s mounted and powered, it’s time to start programming.
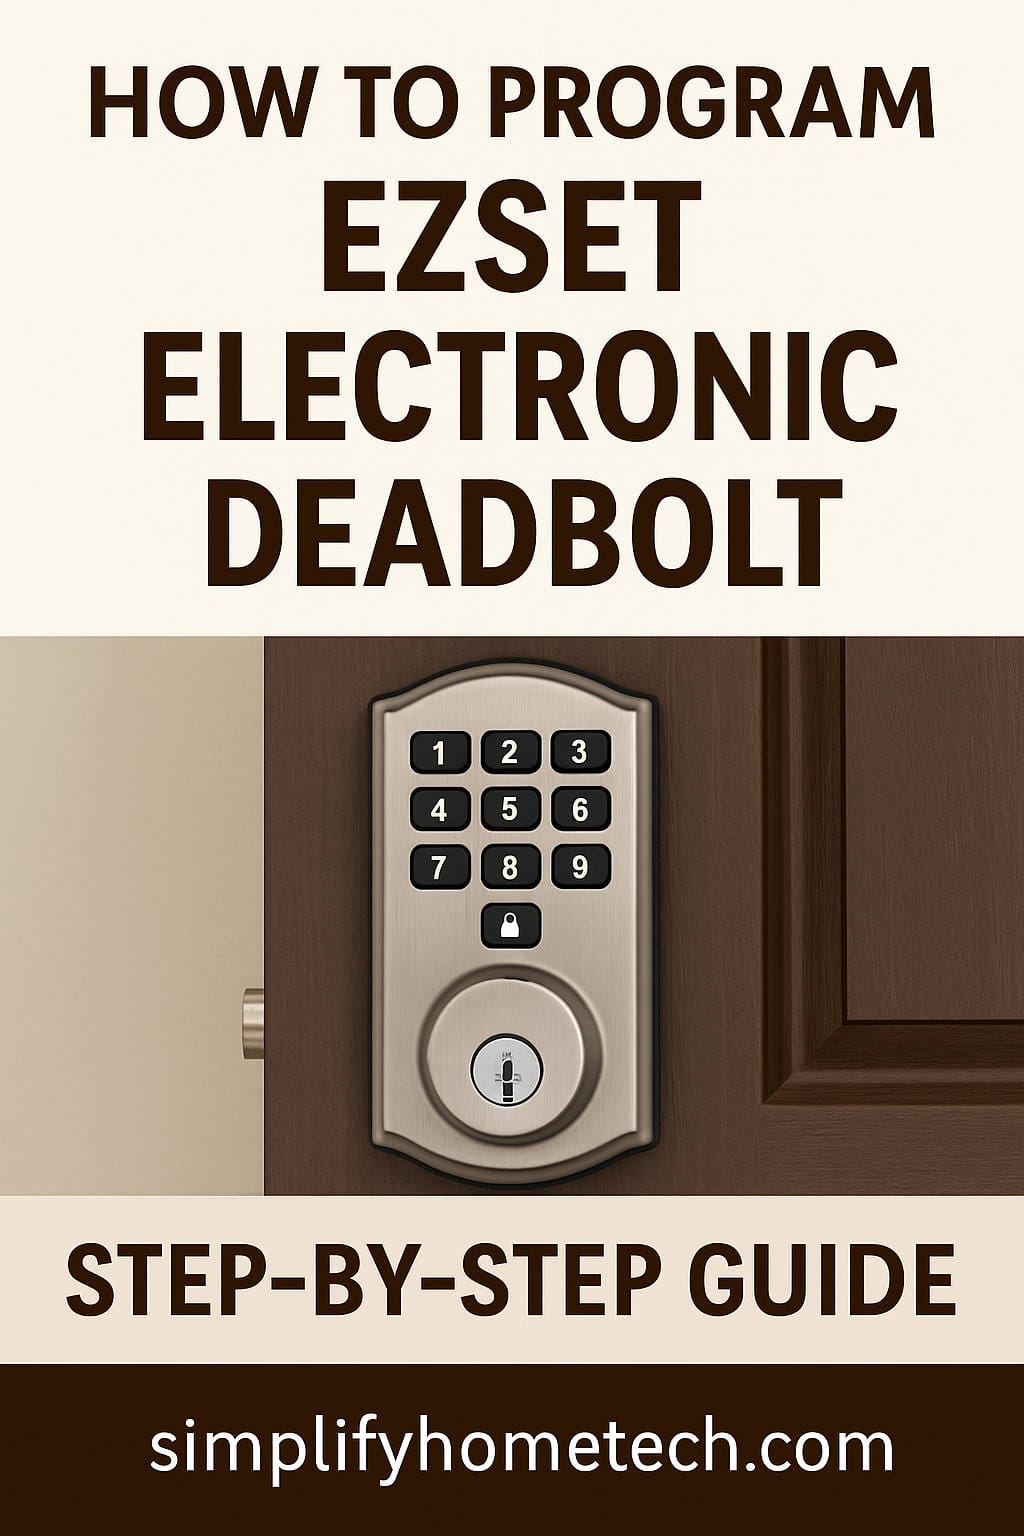
Understanding the Keypad and Controls
Before diving into the programming, let’s take a quick look at the main components of the lock:
- Keypad: Where you input user codes and commands
- Lock Button (usually a 🔒 symbol): Used to confirm entries and manually lock the door
- Programming Button: Located inside the battery compartment, this button allows you to access programming mode
Initial Setup: Door Handing Detection
When you first power on the lock, it needs to learn whether your door swings left or right. This is known as “door handing.”
To complete door handing:
- Ensure the door is open.
- Press and hold the programming button.
- Insert the batteries while holding the button.
- Wait for a beep or green light to confirm success.
Once this process is complete, the lock knows the orientation of your door and will operate accordingly.
Default Codes: What You Need to Know
Every new EZSET electronic deadbolt comes with two important default codes:
- Programming Code: Usually “0000”
- User Code: Usually “1234” or “1111”
These codes are temporary and should be changed immediately after installation to maintain security. Let’s walk through how to update them.
How to Change the Programming Code
The programming code acts as your master key for managing user access.
Steps to change the programming code:
- Enter the existing programming code.
- Press the lock button.
- Press “1” on the keypad.
- Press the lock button again.
- Enter a new 4-8 digit programming code.
- Press the lock button once more to save.
If successful, you’ll hear a confirmation beep or see a green light.
Adding a New User Code
You can store multiple user codes so different family members or guests can have their own entry access.
To add a user code:
- Enter your programming code.
- Press the lock button.
- Press “2” on the keypad.
- Press the lock button.
- Enter the desired user code (4-8 digits).
- Press the lock button again.
Repeat these steps for each additional user code. Most models allow up to 6 to 20 user codes.
Deleting a User Code
When someone no longer needs access—like a former roommate or short-term guest—you can delete their code.
To delete a user code:
- Enter your programming code.
- Press the lock button.
- Press “3” on the keypad.
- Press the lock button.
- Enter the code you want to delete.
- Press the lock button to confirm.
If you ever want to remove all codes at once, you’ll need to perform a factory reset (explained later).
Enabling Auto-Lock
Auto-lock is a helpful feature that automatically secures the door after a set period.
To enable auto-lock:
- Enter the programming code.
- Press the lock button.
- Press “5” on the keypad.
- Press the lock button.
- Enter the delay time (in seconds, e.g., “30” for 30 seconds).
- Press the lock button.
To disable auto-lock:
Repeat the steps, but enter “00” for the delay time.
Using Vacation Mode
Vacation mode disables all user codes until it’s turned off—perfect for when you’re away for extended periods.
To enable or disable vacation mode:
- Enter the programming code.
- Press the lock button.
- Press “6” on the keypad.
- Press the lock button again.
Vacation mode can be toggled on or off using the same sequence.
Factory Reset: Starting Fresh
If you forget your programming code or encounter issues, a factory reset might be the best option.
To reset the lock:
- Remove the battery cover and batteries.
- Press and hold the programming button.
- Reinsert the batteries while still holding the button.
- Continue holding until you hear a long beep (about 30 seconds).
This action erases all user and programming codes and returns the lock to factory settings.
Troubleshooting Common Issues
Lock won’t engage:
- Ensure the door is properly aligned.
- Check if the latch and strike plate are correctly installed.
Keypad unresponsive:
- Replace batteries with fresh AA alkaline batteries.
- Make sure battery terminals are clean and tight.
User code doesn’t work:
- Confirm the code was entered and saved correctly.
- Try re-adding or deleting and re-entering the code.
Beeping or flashing red light:
- Indicates a low battery or incorrect code entry.
Practical Tips for Everyday Use
- Label user codes: If you manage multiple users, keep a list of who has which code.
- Change codes regularly: Especially if you’ve shared them with guests or service providers.
- Use strong, unique codes: Avoid simple combinations like 1234 or birth years.
- Keep spare batteries handy: Change them as soon as the low-battery indicator lights up.
- Test lock functions monthly: Check that the auto-lock and manual lock work correctly.
Why This Lock is Ideal for Airbnb and Rental Properties
If you rent out your home or manage short-term rentals, the EZSET lock provides a professional, efficient way to manage access. You can:
- Assign temporary codes to guests
- Delete codes after checkout
- Avoid handing out physical keys
- Increase guest confidence in your security measures
And all without relying on mobile apps or Wi-Fi—great for rural areas or backup scenarios.
Final Thoughts: Keeping Your Home Secure
The EZSET electronic deadbolt is a practical, straightforward upgrade to any home’s security system. With a few button presses, you can manage access for family, friends, and guests without ever duplicating a key.
By taking the time to understand and properly program your lock, you’re not just securing your front door—you’re making everyday life easier. Whether it’s coming home with groceries in both hands or checking in guests without delay, this electronic deadbolt is all about convenience and control.
If you’re ever in doubt, refer back to this guide or consult your lock’s specific manual. Remember, a lock is only as good as its user—and now you’re equipped to use it like a pro. Happy locking!
You might also like,