In today’s connected world, our homes are more digital than ever. From smart speakers that control lights to refrigerators that tell us when to shop for groceries, smart devices have woven themselves into the fabric of modern life. But with that convenience comes a challenge: how do you keep your home network secure while still giving all those smart devices the access they need to function?
One smart solution is setting up a guest network—not just for guests, but for your smart devices too. While the term “guest network” might sound like it’s only for visitors checking their email, it’s also a fantastic tool for managing smart devices efficiently and securely.
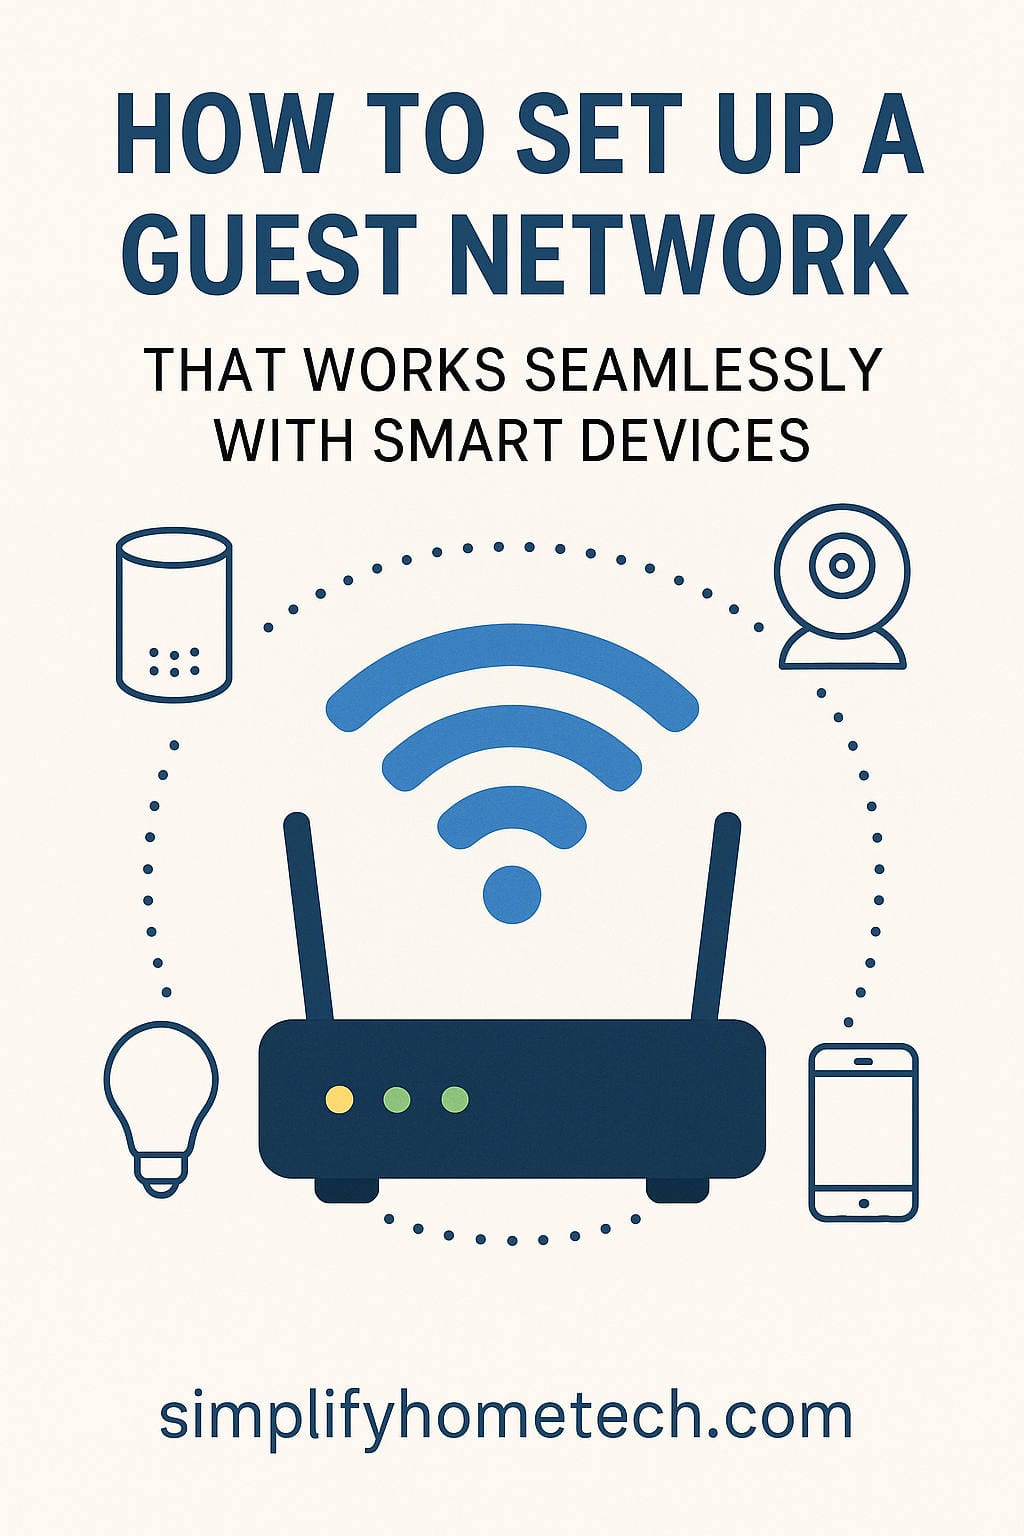
Let’s break down exactly how to set up a guest network that works smoothly with smart devices. Whether you’re a tech pro or just getting started with smart home gadgets, this guide will walk you through everything step-by-step.
What Exactly is a Guest Network?
Think of your main home Wi-Fi as your personal living space. Now imagine a guest network as a guest room: it’s part of the house, but separate enough to provide privacy and control. A guest network is a second Wi-Fi signal your router broadcasts that keeps connected devices isolated from the main network. This means users and devices on the guest network can’t access your personal files, printers, or other connected devices on your primary network.
Routers create this virtual separation using a technique called network segmentation. The idea is simple but powerful: by isolating traffic, you limit risk. This concept becomes especially useful when you’re dealing with dozens of smart devices.
Why Should You Use a Guest Network for Smart Devices?
You might be wondering, “Why not just connect everything to my main Wi-Fi?”
Here are a few compelling reasons to use a guest network instead:
1. Better Security: Many smart devices—especially budget-friendly ones—aren’t designed with top-notch cybersecurity in mind. They often lack regular firmware updates and could be potential targets for hackers. By isolating these devices on a guest network, you prevent them from accessing sensitive devices like your laptop or NAS.
2. Reduced Network Clutter: Connecting dozens of gadgets to your main Wi-Fi can slow things down. A guest network helps offload some of that digital traffic, freeing up bandwidth for your more critical devices.
3. Easier Troubleshooting: When devices are organized on separate networks, it’s easier to identify what’s causing connection issues or latency problems.
4. Controlled Access: With a guest network, you can manage who or what connects more efficiently. That includes disabling access, limiting bandwidth, or restricting communication between devices.
Getting Your Router Ready
Before diving into setup, it’s important to make sure your router supports guest networking. Most modern routers do, but if yours is a bit older, it might be time for an upgrade. A good router with dual-band or tri-band capabilities, mesh support, and the latest security protocols (like WPA3) will make things much smoother.
Here’s how to get started:
Step 1: Access Your Router Settings
- Open a web browser on a device connected to your home network.
- Enter the router’s IP address (commonly 192.168.0.1 or 192.168.1.1).
- Log in using the admin credentials. These can often be found on a sticker on your router if you haven’t changed them.
Step 2: Check for Guest Network Option
- Navigate to the Wireless or Network settings.
- Look for “Guest Network” or similar wording.
- If it’s not there, check your router manual or manufacturer website to confirm your model supports guest networks.
Step 3: Update Your Firmware
- While you’re in the admin panel, look for a firmware update option.
- Keeping your router up to date ensures the best performance and security.
Setting Up the Guest Network
Once you’ve confirmed that your router can support a guest network, it’s time to set it up properly. This step-by-step guide will help you configure your network to play nicely with smart devices:
1. Enable the Guest Network
Turn on the guest network functionality from your router’s settings. Some routers allow you to name multiple guest networks—useful if you want to keep smart devices and human guests on separate virtual lanes.
2. Create a Unique SSID and Strong Password
Avoid naming your guest network something similar to your main network. For example, instead of “HomeNetwork-Guest,” try “SmartHomeDevices-24GHz.”
Make sure to use a strong, unique password. Never leave your guest network open.
3. Choose the 2.4GHz Band
Many smart devices (especially older ones) only work with 2.4GHz Wi-Fi. If your router supports both 2.4GHz and 5GHz, enable the 2.4GHz band on the guest network to ensure compatibility.
4. Set Device Isolation (Carefully)
Most routers offer an option like “Allow guests to access local network.” When setting up for smart devices, this can be tricky.
- Disable local network access to isolate devices from your computers and other critical hardware.
- However, if your smart devices need to communicate with each other (e.g., smart lights controlled via a hub), you may need to temporarily enable this setting during setup.
5. Save Changes and Restart
Once everything is configured, save your settings and restart the router to apply changes.
Connecting Smart Devices to the Guest Network
Now that your guest network is ready, it’s time to start connecting your smart devices.
Each device has its own setup process, but here are some universal tips:
Reset Devices if Needed: If the device has already been connected to a different network, a factory reset may be required before you can connect it to your new guest network.
Use Manufacturer Apps: Most smart devices are configured through an app. Open the app, initiate setup, and when prompted, select the guest network SSID.
Enter the Password: Input your new guest network password, and let the app do the rest.
Recheck Network Band: If a device won’t connect, confirm it’s compatible with 2.4GHz and that your guest network is using the correct band.
Strengthening Guest Network Security
Setting up a guest network is a solid start, but to really make your home network secure, there are a few additional precautions worth taking:
Use WPA2 or WPA3 Encryption: Always choose the most advanced encryption method available on your router. Avoid using WEP, which is outdated and insecure.
Disable WPS (Wi-Fi Protected Setup): While it might seem convenient, WPS is known to have security flaws. Disable it to keep things safe.
Turn Off SSID Broadcasting (Optional): Hiding your guest network can make it slightly harder to find. Just remember, it can also make it more difficult to connect new devices.
Monitor Connected Devices: Use your router’s admin interface to keep an eye on which devices are connected. Unexpected devices should raise red flags.
Change Passwords Regularly: Just like with your main network, it’s a good idea to update your guest network password every few months.
Troubleshooting: When Things Don’t Go as Planned
Even with the best preparation, things don’t always work on the first try. Here are some quick tips for common problems:
Smart Device Won’t Connect:
- Make sure it supports 2.4GHz Wi-Fi.
- Check that your guest network is broadcasting properly.
- Try temporarily disabling isolation settings.
- Bring the device closer to the router during setup.
Device Disconnects Frequently:
- Look for Wi-Fi interference from microwaves or other devices.
- Update both your router and the device firmware.
- Limit the number of devices connected to the guest network.
You Can’t Control the Device After Setup:
- Some devices require cloud access or a control app on the same network.
- Consider using a smart home hub to bridge communications if needed.
Performance Tips to Keep Your Smart Network Running Smoothly
A well-organized network isn’t just about security. It also ensures your smart home runs without hiccups.
Use a Mesh Wi-Fi System: Mesh networks distribute coverage more evenly across large spaces, reducing dead zones and signal drops.
Name Devices Clearly: Assign intuitive names like “Bedroom_Thermostat” or “Kitchen_Camera”. This makes network management far easier down the line.
Reboot Devices Occasionally: Like any tech, routers and smart devices benefit from the occasional reboot.
Keep Firmware Up to Date: Both routers and smart gadgets frequently release updates that improve performance and patch vulnerabilities.
Limit Bandwidth: If your router allows it, set bandwidth limits on the guest network to ensure smart devices don’t hog resources.
Real-World Example: A Smarter, Safer Home
Consider this: A family with 30+ smart devices (lights, thermostats, doorbells, cameras) connected everything to the main Wi-Fi. Over time, their network slowed, cameras lagged, and unexpected disconnections became the norm. Worse, a cheap smart plug with no firmware updates became a weak point that a hacker exploited.
After setting up a guest network specifically for smart devices, they saw immediate improvements. Video streams were smoother, device management got easier, and their main network ran faster. Most importantly, the added security gave them peace of mind.
Final Thoughts
Creating a dedicated guest network for your smart devices isn’t just a nice-to-have—it’s a practical, effective way to secure and streamline your digital home. As more gadgets come online, your network needs to be both strong and smart.
By taking the time to segment your Wi-Fi, you protect your private data, reduce congestion, and make managing your smart home much simpler. Whether you have a few devices or a house full of automation, setting up a smart-friendly guest network is one of the best things you can do.
Don’t wait for problems to arise. Get ahead of the game and build a home network that works for you—and with your smart devices—right from the start.