A Nest Thermostat is one of the most popular smart thermostats, helping homeowners save energy while maintaining indoor comfort. Whether you’ve just purchased a Nest Thermostat or are looking to maximize its efficiency, this comprehensive guide will walk you through installation, setup, and smart features to optimize your home’s climate control.
By the end of this guide, you’ll understand how to install your Nest Thermostat, customize settings, use smart features, and maximize energy savings.
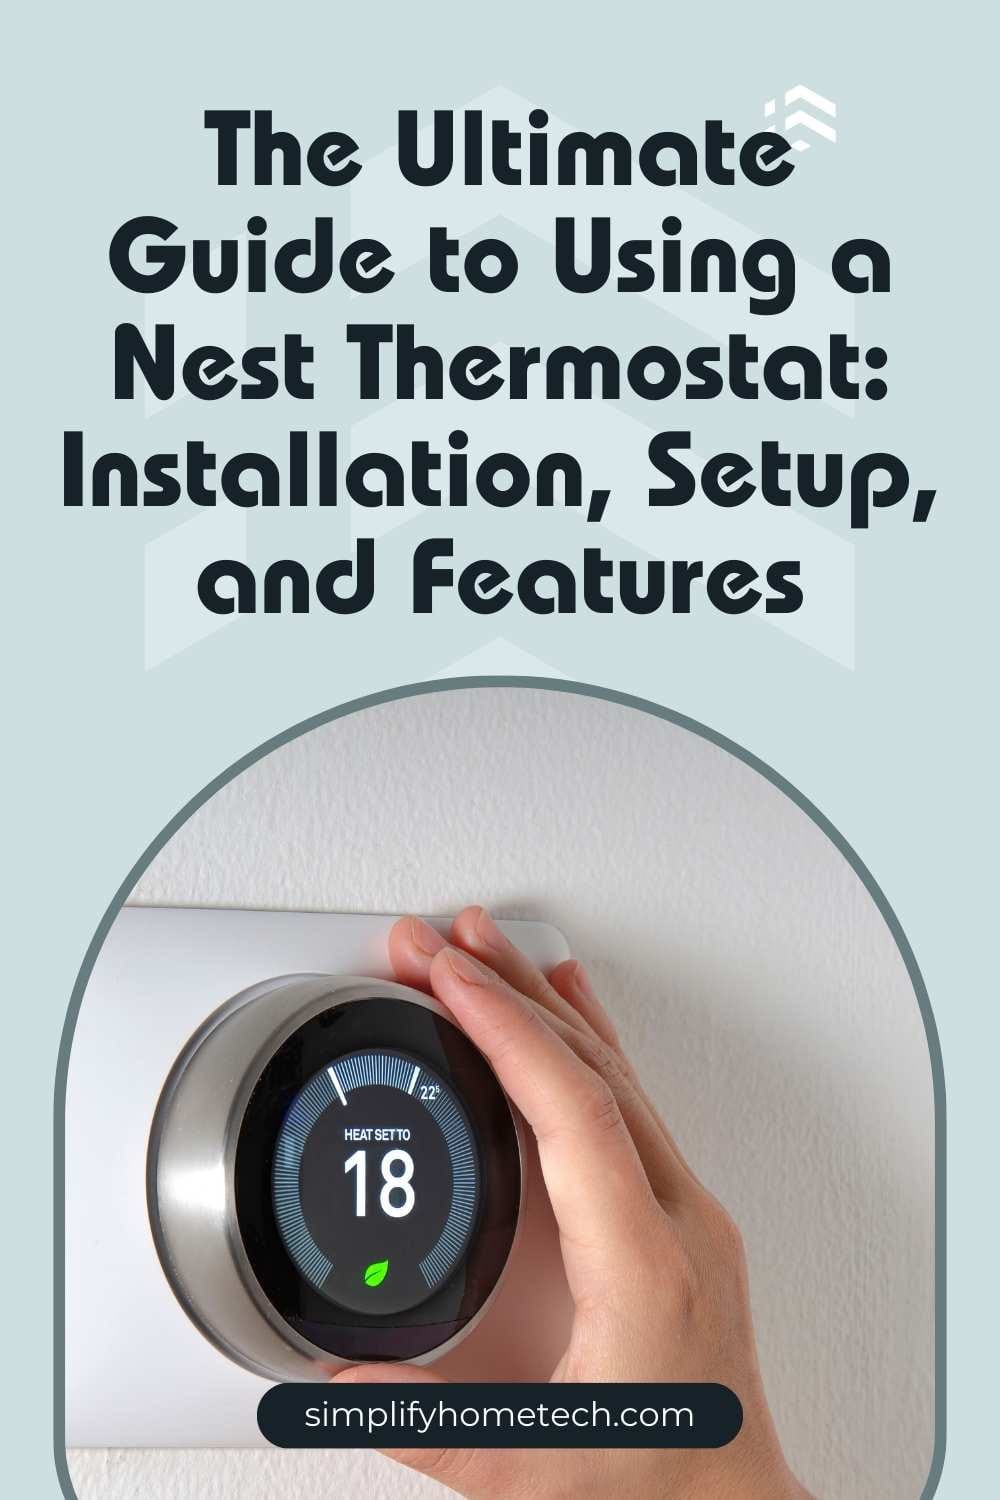
1. What is a Nest Thermostat?
A Nest Thermostat is a Wi-Fi-enabled, smart thermostat developed by Google Nest. It allows users to automate temperature adjustments, control settings remotely, and integrate with smart home systems like Google Assistant and Alexa.
Types of Nest Thermostats
Google currently offers two primary models:
- Nest Learning Thermostat (3rd Gen)
- Premium model with an elegant metal finish
- Learns your schedule and adjusts temperatures automatically
- Features Farsight (detects movement and lights up to display temperature, weather, or time)
- Works with Nest Temperature Sensors for room-by-room climate control
- Nest Thermostat (2020 Model)
- More affordable model with a plastic design
- Does not include auto-scheduling; requires manual scheduling
- Features a touch-sensitive side panel instead of a rotating dial
- Works with the Google Home app for remote control
Both models provide remote access, energy-saving features, and smart home integration.
2. Benefits of Using a Nest Thermostat
Investing in a Nest Thermostat comes with several advantages:
✔️ Energy Efficiency: Automatically adjusts temperatures to reduce energy consumption.
✔️ Cost Savings: Can lower heating and cooling bills by up to 15% annually.
✔️ Smart Learning (Nest Learning Thermostat only): Learns your schedule and preferences to optimize climate control.
✔️ Remote Access: Control temperature settings from anywhere using the Google Home app.
✔️ Voice Control: Works with Google Assistant and Amazon Alexa for hands-free adjustments.
✔️ Customizable Schedules: Set daily or weekly temperature preferences to fit your lifestyle.
✔️ Eco Mode: Reduces heating and cooling when you’re away to conserve energy.
With these features, a Nest Thermostat is an excellent way to enhance comfort and efficiency in your home.
3. Installing Your Nest Thermostat
Installing a Nest Thermostat is straightforward and can be done in under 30 minutes.
Step 1: Check Compatibility
Before installation, confirm your HVAC system is compatible using the Nest Compatibility Checker on Google’s website.
Step 2: Gather Tools
You’ll need:
✔️ Screwdriver (included in the box)
✔️ Power drill (if mounting on drywall)
✔️ Level (to ensure the thermostat is straight)
Step 3: Turn Off Power
Go to your home’s electrical panel and turn off the power to your HVAC system to avoid electrical hazards.
Step 4: Remove Your Old Thermostat
- Take a picture of the existing thermostat wiring (for future reference).
- Carefully detach the wires and remove the thermostat from the wall.
Step 5: Install the Nest Thermostat Base Plate
- Align the Nest base plate on the wall and mark the screw holes.
- Secure the base plate using the provided screws.
Step 6: Connect the Wires
- Insert the labeled wires into the corresponding terminals on the Nest base.
- If your system lacks a C-wire (common wire), you may need a Nest Power Connector for stable operation.
Step 7: Attach the Thermostat Display
Snap the Nest Thermostat display onto the base plate until it clicks securely into place.
Step 8: Restore Power and Begin Setup
Turn the power back on and follow the on-screen prompts on the Nest Thermostat to complete the setup process.
4. Setting Up and Customizing Your Nest Thermostat
Once installed, you need to connect your thermostat to Wi-Fi, customize settings, and activate smart features.
Connecting to Wi-Fi
- Tap the thermostat display.
- Select Settings > Network.
- Choose your Wi-Fi network and enter the password.
Linking to the Google Home App
- Download the Google Home app (iOS or Android).
- Open the app and tap + Add Device.
- Select Nest Thermostat and follow the instructions.
Configuring Temperature Preferences
- Eco Mode: Optimizes temperature settings when you’re away to save energy.
- Auto-Schedule (Nest Learning Thermostat only): Learns your preferences and automatically adjusts temperatures.
- Manual Schedule (Nest Thermostat 2020 Model): Allows you to pre-set temperature changes for specific times of the day.
5. How to Use Your Nest Thermostat
Adjusting Temperature Manually
- Nest Learning Thermostat: Rotate the dial to change the temperature.
- Nest Thermostat (2020 Model): Swipe on the touch bar located on the right side.
Setting a Temperature Schedule
- Open the Google Home app.
- Select your Nest Thermostat > Schedule.
- Add time blocks and desired temperatures for each part of the day.
Using Nest Temperature Sensors
If you have rooms that tend to be hotter or cooler than others, you can place Nest Temperature Sensors in those rooms to adjust heating/cooling based on actual conditions.
6. Smart Features & Integrations
Home/Away Assist
- Uses your phone’s location and built-in motion sensors to detect when you’re home or away.
- Automatically switches to Eco Mode when the house is empty.
Nest Leaf
- A small green leaf icon appears when you set an energy-efficient temperature.
- Helps you reduce energy consumption without sacrificing comfort.
Energy History Reports
- View past energy usage via the Google Home app.
- Receive monthly Nest Home Reports summarizing savings and energy patterns.
Seasonal Savings
- Google Nest offers Seasonal Savings during peak heating and cooling months.
- This feature suggests small automatic temperature adjustments to save energy.
Voice Control
- Works with Google Assistant and Amazon Alexa.
- Example voice commands:
- “Hey Google, set the thermostat to 72 degrees.”
- “Alexa, lower the Nest Thermostat by 2 degrees.”
7. Energy-Saving Tips for Nest Thermostat Users
✔️ Set a consistent schedule to minimize sudden temperature changes.
✔️ Use Eco Mode when you’re away for long periods.
✔️ Lower heating by a few degrees at night to reduce energy costs.
✔️ Check Energy History regularly to optimize usage.
✔️ Enable Home/Away Assist for automatic adjustments.
By following these tips, you can maximize efficiency and lower your utility bills.
8. Final Thoughts: Why Choose a Nest Thermostat?
A Nest Thermostat is more than just a temperature control device—it’s a smart energy-saving tool that enhances your home’s comfort and efficiency. Whether you want automatic temperature adjustments, voice control, or remote access, Nest Thermostats offer a seamless smart home experience.
Would you like to share your experience with Nest Thermostat? Drop a comment below! 🚀
FAQs
1. Can I install a Nest Thermostat without professional help?
Yes, most homeowners can install it in under 30 minutes following the instructions.
2. Does the Nest Thermostat work without Wi-Fi?
Yes, but you won’t be able to control it remotely or access smart features.
3. Is a Nest Thermostat worth it?
Yes! The energy savings, smart features, and ease of use make it a valuable addition to any home.
Need more help? Visit Google Nest Support for additional resources. 🚀