In today’s world, convenience and security go hand in hand—and that’s exactly what Tru-Bolt electronic locks offer. With keyless entry, customizable access codes, and easy programming features, Tru-Bolt locks are a popular choice for both homeowners and property managers.
But while the lock’s functionality is designed to be user-friendly, first-time users often find the programming process a bit confusing. Whether you’ve just installed your Tru-Bolt lock or need help resetting or customizing it, this guide is for you.
In this complete tutorial, we’ll walk you through every step of programming your Tru-Bolt electronic lock—from initial setup and adding user codes to enabling auto-lock and solving common problems. We’ve made it beginner-friendly and detailed, so you don’t need to be tech-savvy to follow along.
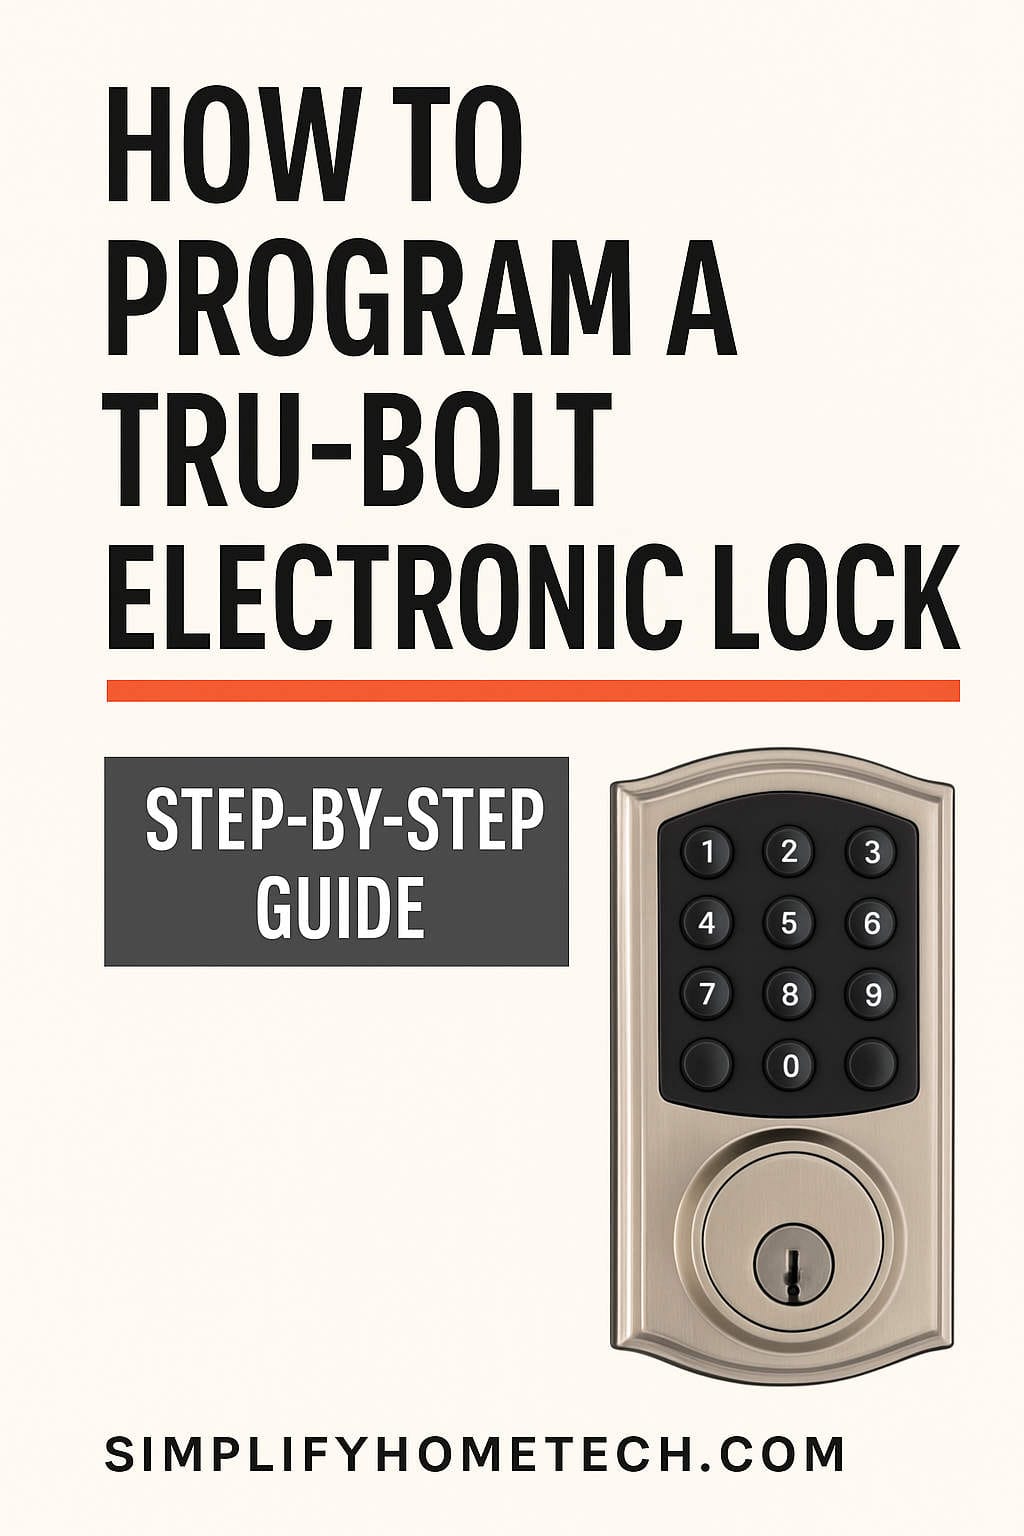
🔐 What Is a Tru-Bolt Electronic Lock?
Tru-Bolt is a well-regarded brand that manufactures residential electronic locks. These locks are designed to replace traditional keyed deadbolts with secure, electronic systems that allow for:
- Keyless entry
- User-specific access codes
- Auto-locking features
- One-time use codes
- Tamper alerts
- Battery-powered operation
Tru-Bolt offers various models, including standard keypad locks and touchscreen versions, with some models also supporting smart home integration.
🛠️ Tools You’ll Need for Setup and Programming
Before you begin programming your Tru-Bolt lock, make sure you have the following:
- ✅ 4 AA alkaline batteries (if not already installed)
- ✅ A small Phillips screwdriver (for accessing the battery compartment)
- ✅ The lock’s user manual (optional, but helpful)
- ✅ A pen and notebook (to record access codes and settings)
Now let’s get started.
🔧 Step 1: Initial Setup or Factory Reset
If you’ve just installed your lock or want to start from scratch, a factory reset is the best first step.
🔁 How to Perform a Factory Reset:
- Remove the battery cover located on the interior side of the lock.
- Press and hold the Reset Button (usually small and red, located near the batteries) using a paperclip or small tool.
- Hold the button for about 5–10 seconds until you hear a long beep.
- Release the button. Your lock will now be restored to factory default settings.
⚠️ Important: A factory reset will erase all programmed codes, including the Master Code and user codes. Only perform this when necessary.
🔑 Step 2: Set the Master Code (Programming Code)
The Master Code is your main administrative code used to program the lock, add or remove user codes, and enable or disable features. Without it, you can’t make any changes to the lock’s configuration.
📝 To Set the Master Code:
- Press the Program button on the interior assembly once.
- Enter your desired 6-digit Master Code.
- Press the
#orEnterkey (depending on your model). - A green light and a confirmation beep indicate success.
🗒️ Tip: Write down the Master Code and store it in a secure place. If lost, you’ll need to reset the lock to factory defaults.
👥 Step 3: Add User Access Codes
You can assign up to 20 user codes (depending on the model), which allow others to unlock the door using their unique pin.
👨👩👧👦 To Add a User Code:
- Press the Program button once.
- Enter your Master Code and press
#. - Press
1to enter the “Add User” mode. - Input a 4 to 8-digit user code and press
#. - A green light and a beep will confirm the code has been saved.
Repeat the process for each additional user.
🔐 Security Tip: Avoid using simple codes like “1234” or birthdates. Choose something unique and hard to guess.
🗑️ Step 4: Delete a User Code
Over time, you may want to remove a user’s access—for example, a guest who no longer needs entry.
To Delete a Specific User Code:
- Press the Program button.
- Enter the Master Code and press
#. - Press
2to initiate “Delete User” mode. - Enter the exact user code you want to delete, then press
#. - You’ll hear a confirmation beep and see a green light if successful.
✅ Pro Tip: If you’re unsure of the user code or want a fresh start, perform a factory reset and reprogram all codes.
🔄 Step 5: Change the Master Code
If you suspect someone else has learned your Master Code, it’s smart to change it.
To Change the Master Code:
- Press the Program button.
- Enter the current Master Code and press
#. - Press
3for the “Change Master Code” option. - Enter your new 6-digit Master Code and press
#.
You’ll get a green light and beep once the change is successful.
🕒 Step 6: Set Auto-Lock Feature
The auto-lock function enhances security by automatically locking your door after a set time.
To Enable Auto-Lock:
- Enter programming mode using the Master Code.
- Press
4followed by#. - Input a time delay in seconds (e.g., 30 for 30 seconds).
- Press
#to confirm.
To disable auto-lock, repeat the same steps and enter 00 as the delay time.
🕵️ Smart Tip: Set auto-lock to a low value (e.g., 15–30 seconds) if you’re forgetful about locking doors.
📍 Step 7: Program One-Time Use Codes
One-time codes are perfect for short-term access—ideal for cleaners, repair technicians, or Airbnb guests.
To Create a One-Time Code:
- Press the Program button.
- Enter your Master Code and press
#. - Press
5to initiate one-time code programming. - Enter a unique 4–8 digit code and press
#.
After the code is used once, it’s automatically deleted.
📴 Step 8: Lock and Unlock the Door
🔐 To Lock the Door:
- Press the
Lockbutton or any key on the keypad. - The lock will engage, and a red light or beep will confirm.
🔓 To Unlock the Door:
- Enter your 4–8 digit user code and press
#orEnter. - A green light and beep will confirm a successful unlock.
🔋 Step 9: Replace the Batteries
Your Tru-Bolt lock is battery-powered, and low battery indicators will alert you when it’s time to swap them.
Symptoms of Low Battery:
- Slow keypad response
- Dim or unresponsive lights
- Beeping after entry
- Lock not engaging fully
How to Replace the Batteries:
- Use a Phillips screwdriver to remove the battery cover.
- Replace with 4 AA alkaline batteries (not rechargeable or lithium).
- Reattach the cover and test the lock.
⚠️ Avoid: Mixing old and new batteries, or using rechargeable types which can cause malfunction.
🧠 Step 10: Troubleshooting Common Problems
❌ Issue: Keypad Doesn’t Respond
- Solution: Check and replace the batteries.
- Reset: If unresponsive, perform a factory reset.
❌ Issue: Lock Won’t Engage
- Solution: Ensure the deadbolt isn’t jammed. Reinstall the lock and check door alignment.
❌ Issue: User Code Not Working
- Solution: Re-enter the code carefully. If issues persist, delete and re-add the code.
❌ Issue: Can’t Add More User Codes
- Solution: You may have reached the user code limit. Delete unused codes or perform a reset.
🧰 Optional: Advanced Features on Select Models
Some Tru-Bolt models come with more advanced functions. If yours is one of them, here’s what to expect:
📱 Bluetooth or App Control
- Manage codes remotely
- Lock/unlock from your phone
- View access logs
🧳 Vacation Mode
- Disables all user codes except the Master Code.
- Ideal for when you’re away from home.
🚨 Tamper and Intrusion Alerts
- If someone enters the wrong code multiple times, the lock may beep or flash as a warning.
💡 Check Your Manual: Features vary slightly between models, so confirm what your lock supports.
🧠 Programming Best Practices
Here are some tips to help you make the most of your Tru-Bolt lock:
- Rotate Access Codes: Update codes periodically for enhanced security.
- Use Strong Codes: Avoid guessable numbers like 0000, 1234, or birth dates.
- Document Your Settings: Keep a secure log of codes and settings in case you forget.
- Maintain the Lock Mechanically: Lubricate the deadbolt occasionally and ensure proper door alignment.
- Enable Auto-Lock: Especially helpful for busy households.
🧑🏫 Frequently Asked Questions (FAQs)
❓ Can I use the same code for multiple people?
Technically yes, but it’s safer to assign individual codes for tracking and management.
❓ How many user codes can I add?
Most Tru-Bolt locks support up to 20 user codes. Refer to your manual for your specific model.
❓ Will I lose my codes when the batteries die?
No. The lock retains all codes during battery replacement.
❓ Can I control my Tru-Bolt lock from my smartphone?
Only some models with Bluetooth or smart home compatibility support remote control. Check your model’s feature list.
❓ How do I know when batteries are low?
The lock may beep multiple times after use or the keypad may respond slowly or not at all.
🏁 Final Thoughts
Programming your Tru-Bolt electronic lock may seem intimidating at first, but once you understand the process, it becomes straightforward and empowering. With this guide, you’re equipped to manage access to your home, enhance security, and take full control of your electronic locking system.
Whether you’re managing a family home, an Airbnb rental, or a small office, knowing how to set up, adjust, and troubleshoot your Tru-Bolt lock can make a huge difference in both security and convenience.
You might also like,